Sometimes you will have a quilt with weak seams to deal with. A weak seam can mean a seam that doesn't have enough seam allowance
and is in danger of pulling apart, a seam that HAS pulled apart, or the fabric near the seam is somehow damaged and the seam is at
risk of failing. This is one method you can use to strengthen that seam and stabilize it for quilting.
 |
Step 1: This shows you a seam with not nearly enough seam allowance. Granted, it doesn't look very
weak... I had to sew up this sample for these photographs LOL. But trust me, this is a recipe for disaster. |
 |
Step 2: Use a piece of fabric on the back that will not be noticeable from the front of the quilt. A
lighter color is often good unless the fabrics are all dark, then choose a dark fabric. I chose white muslin
here so it would show up well in photographs. Use a piece big enough to completely cover the seam to be fixed.
NOTE that if you have a block with many repairs that need to be made, you can use a piece of fabric larger than
the entire block, then stitch in the ditch along the seams around the block to permanently attach the fabric
in place. In this case, do not baste. |
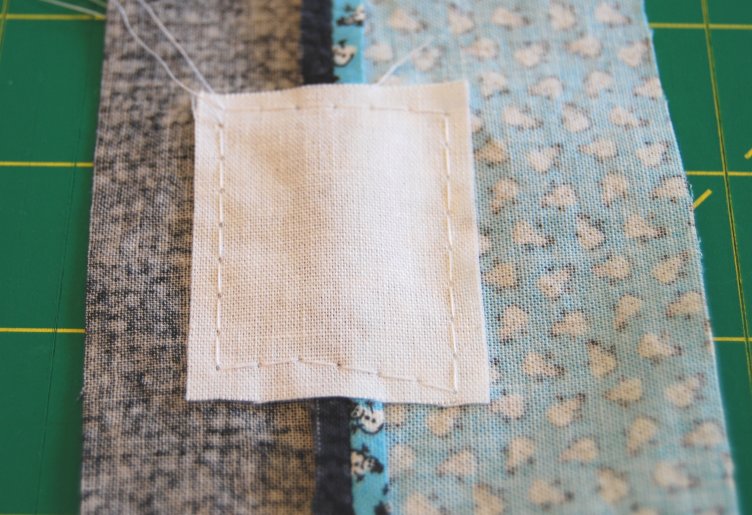 |
Step 3: Baste the fabric into place. If you are fixing an entire bloc, however, pin in place and stitch the
fabric into place with a regular stitch length along the seam lines around the outer edge of the block. |
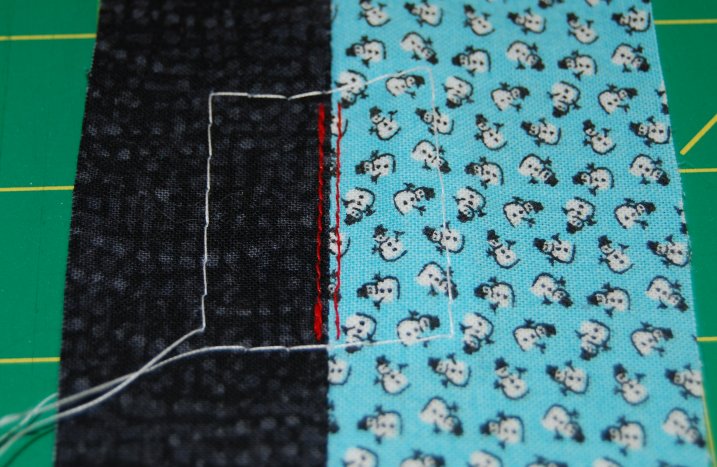 |
Step 4: Working from the front of the block, using a regular size stitch length and a matching thread (I used
contrasting so it would show up in photographs), stopstitch close to the weak seam to attach it to the fabric on the
back of the block. This will stabilize and strengthen the seam. |
 |
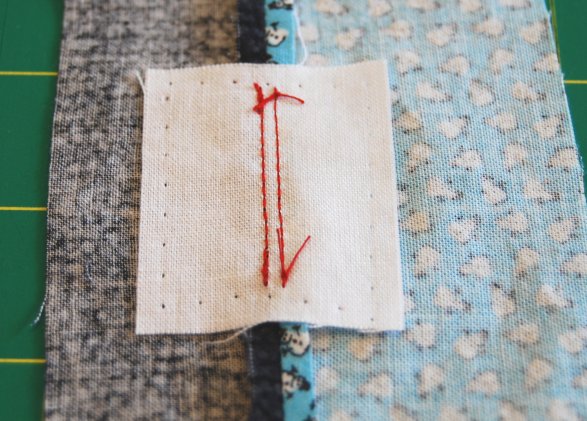
Step 5: If you had basted the fabric piece into place, now is the time to remove your basting stitches. You
can trim back the fabric piece if you wish, but be sure to leave enough so that it doesn't fray apart on you. |

 |
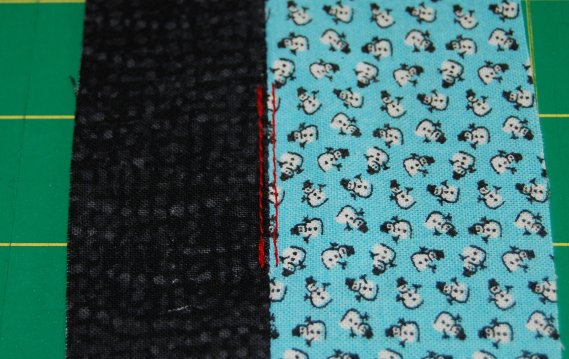
Step 6: One last thing to consider when doing the topstitching. You can either sew a lock stitch at the
beginning and ending of your line of stitching, or you can leave tails that you pull to the back of the fabric and
tie off. The benefit of the lockstitch is speed, the benefit of tying the tails is a cleaner look. If you look at
these photos, the seam in the black fabric was finished with a lock stitch, while the seam in the blue fabric was
tied off at the back. It is up to you which method you use, neither is better... it all depends on how you want
it to look and how much time you have (i.e. how many seams need fixing). |