This tutorial was created for quilters who have a Gammill-style machine quilting frame. My frame is for my HandiQuilter 16 quilting machine and the frame was made by Boersma's in McMinnville, OR. It was styled after the frames that come with Gammill quilting machines, so anyone with a Gammill should be able to use these directions too.
I have left these photos quite large so that you can get as much detail as possible out of them. It may take a few minutes for all the photos to download. Please be patient, as I think you'll find them useful.
Seeing as this tutorial is fairly long, here are a few links to jump to different parts:
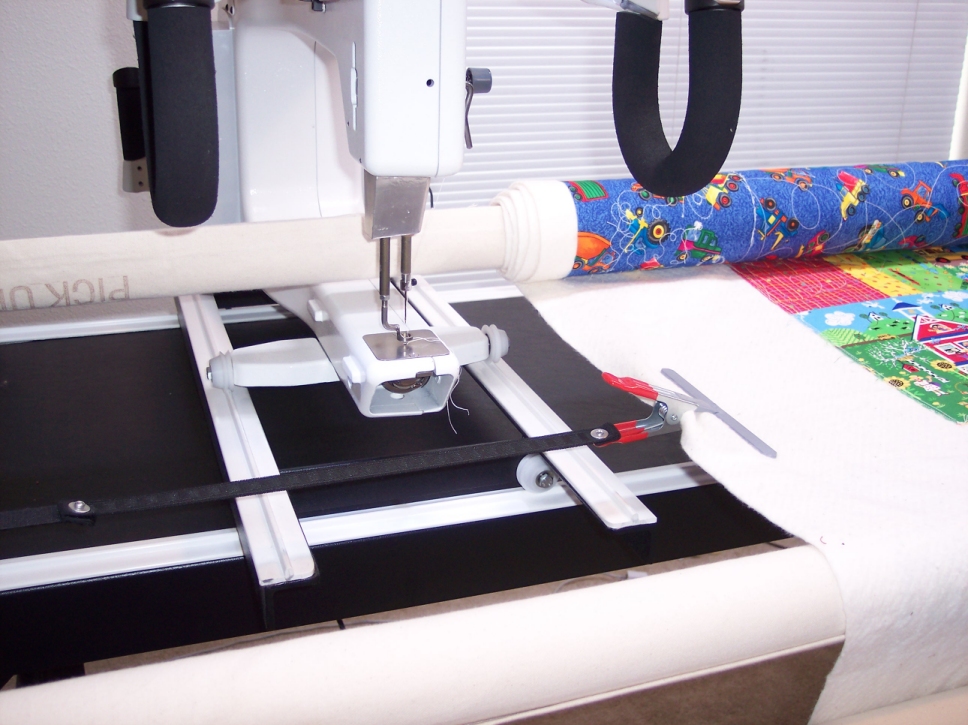
Note #1: Make sure that you don't load a quilt that is too large for your frame. You need to leave
some space between the edge of the quilt and the end of your frame so you have access to the bobbin area of
your machine.
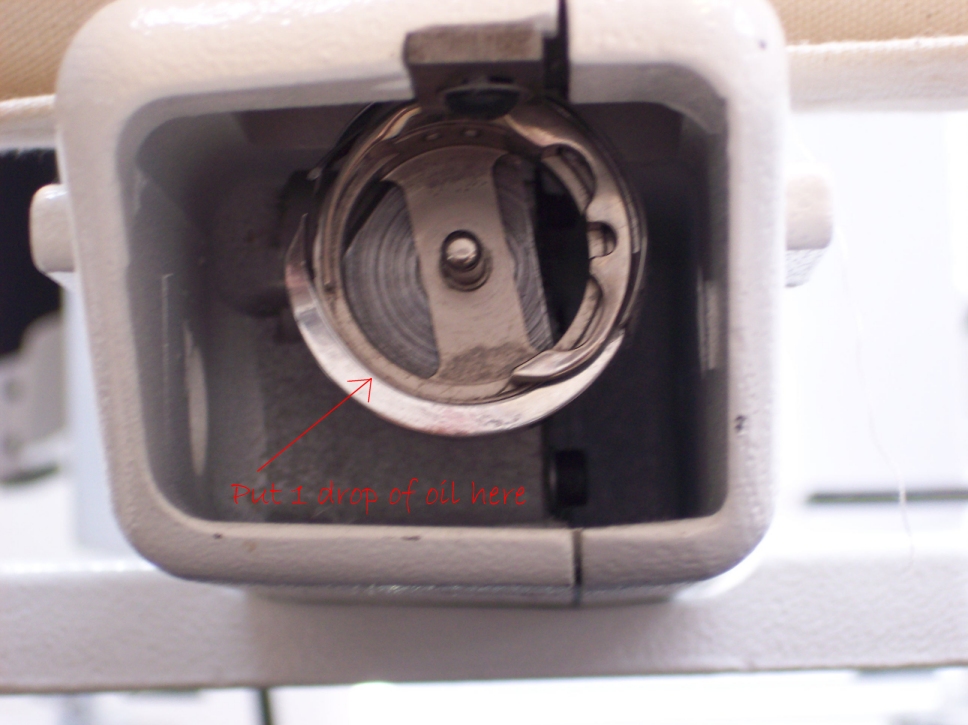
Note #2: Remember that LINT IS YOUR ENEMY. After every bobbin change or after every pass over your quilt,
you MUST brush out all lint from the bobbin area and your bobbin case, and oil the bobbin assembly. Put one drop
of oil on the bobbin assembly at about 7 o'clock, then move the needle up/down 3-4 times to work the oil into the
assembly.
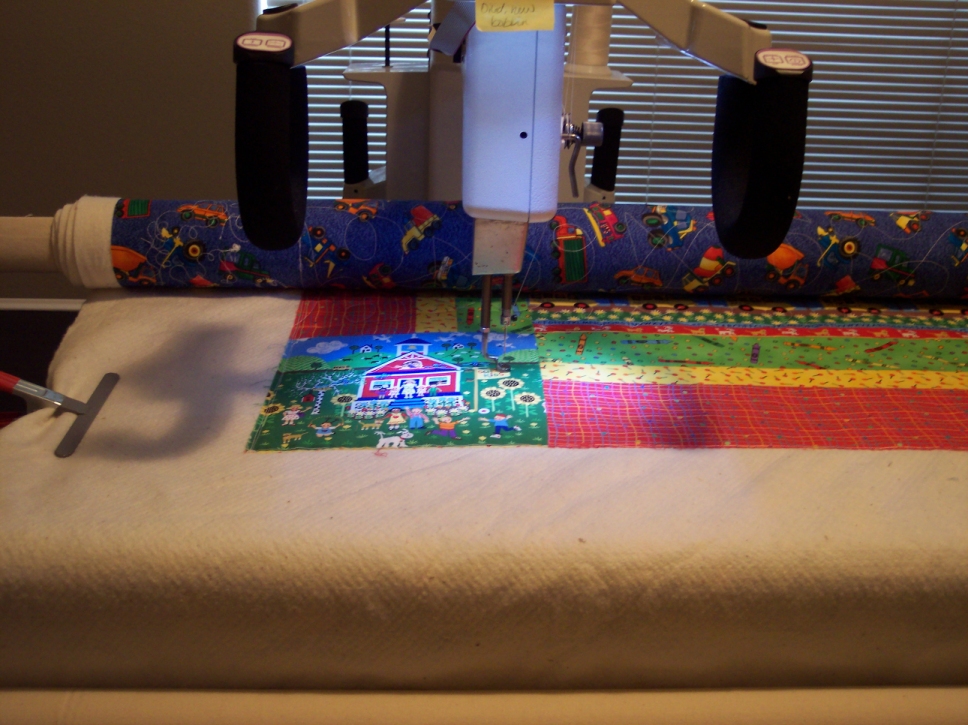
Note #3: This is just a comparison for anyone who is considering buying a frame and light bar from
Boersma's. First I have a photo of the worspace as illuminated by the lights under the front handles on the
HandiQuilter 16, then I have a photo of the workspace as illuminated by the light bar. I turned off my camera's
flash for these photos so you can get a realistic comparison.
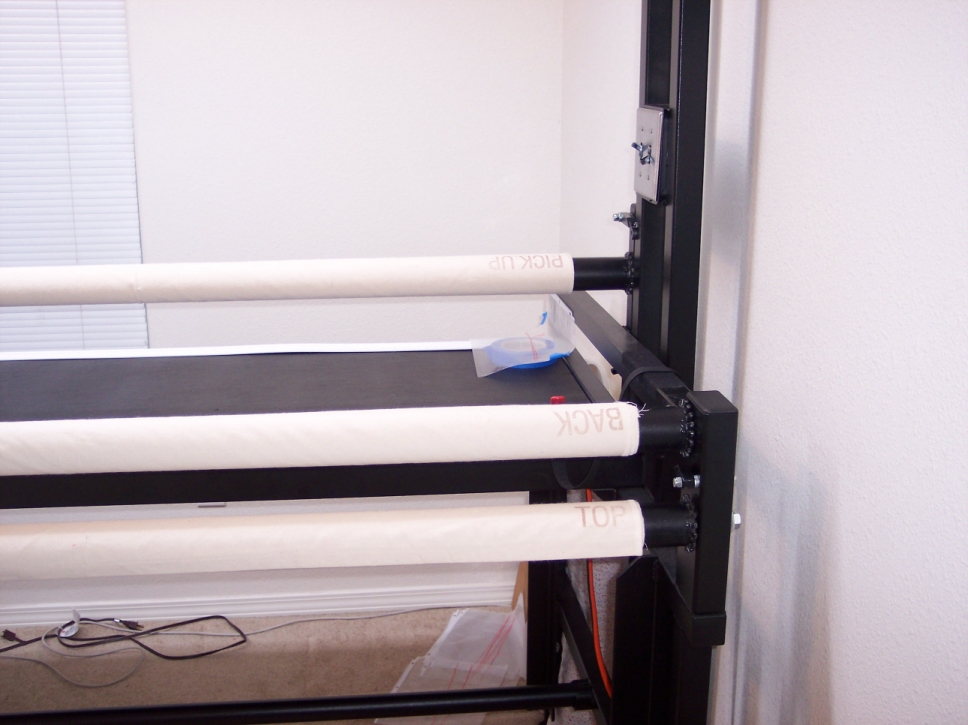
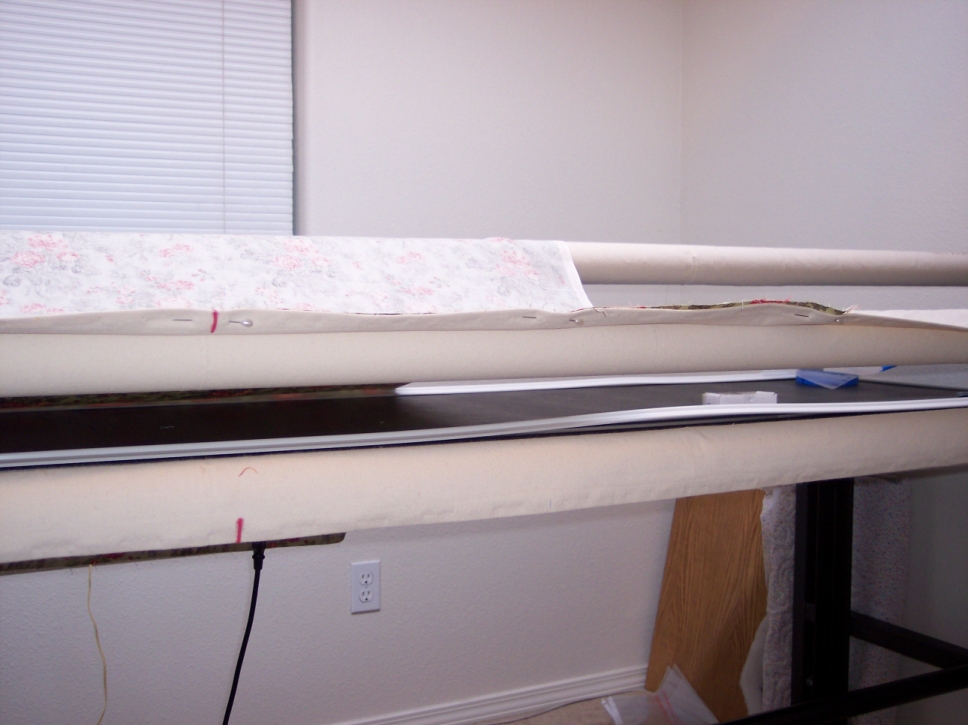
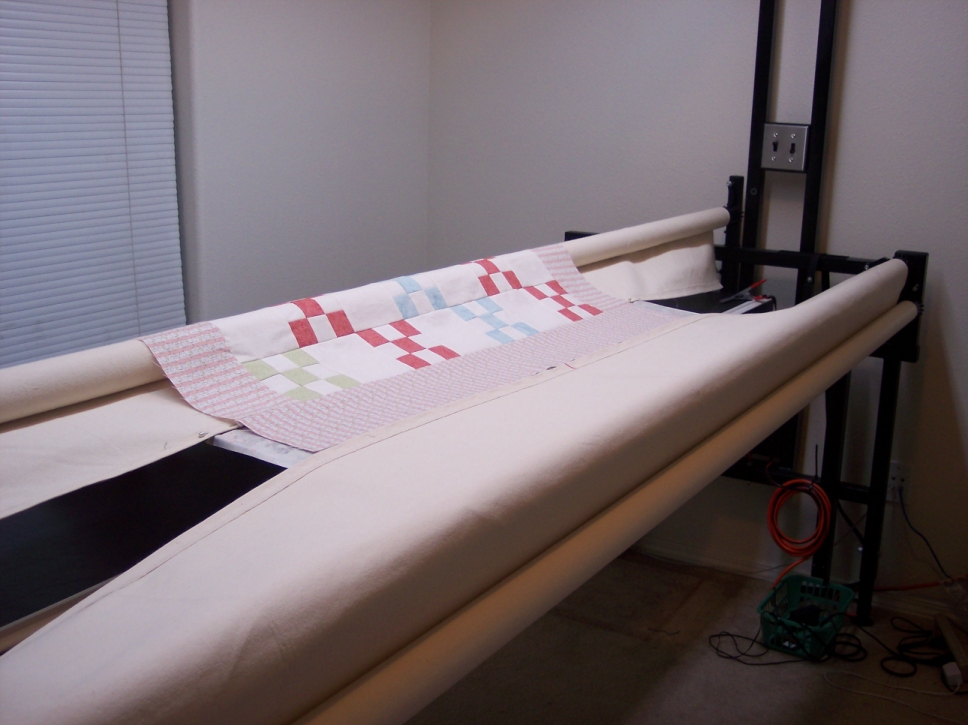
Step 1: Here is the empty frame, ready to be loaded.
![]()
Step 2: Note that the leaders have been marked so you know which part to pin to each.
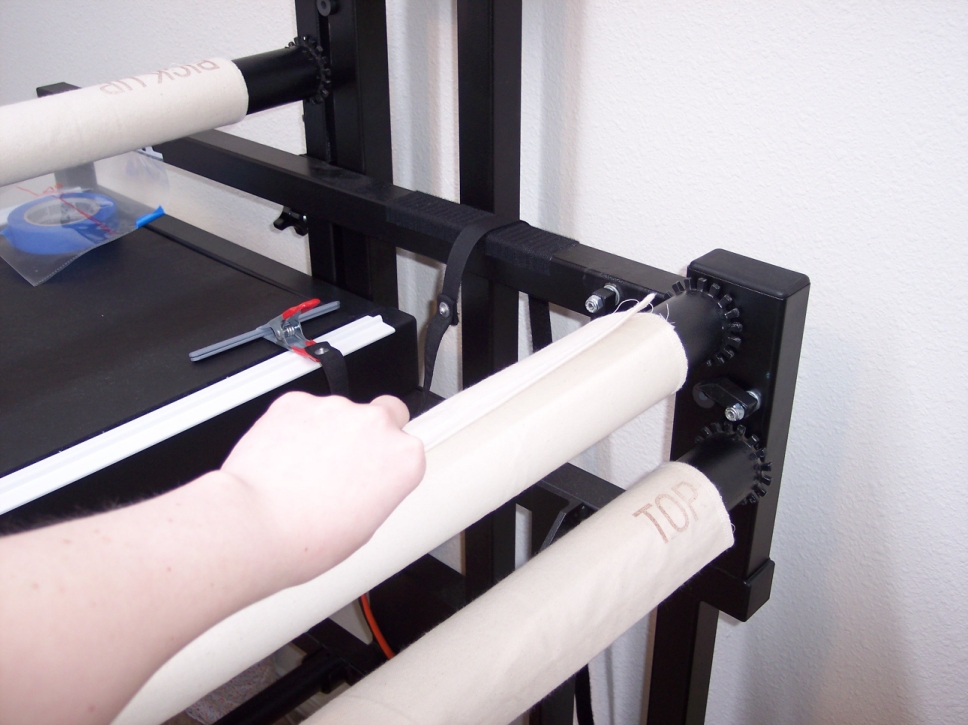
Step 3: First, pull out some length of the BACK leader.

Step 4: Fold the BACK leader over so it lies on to of itself.
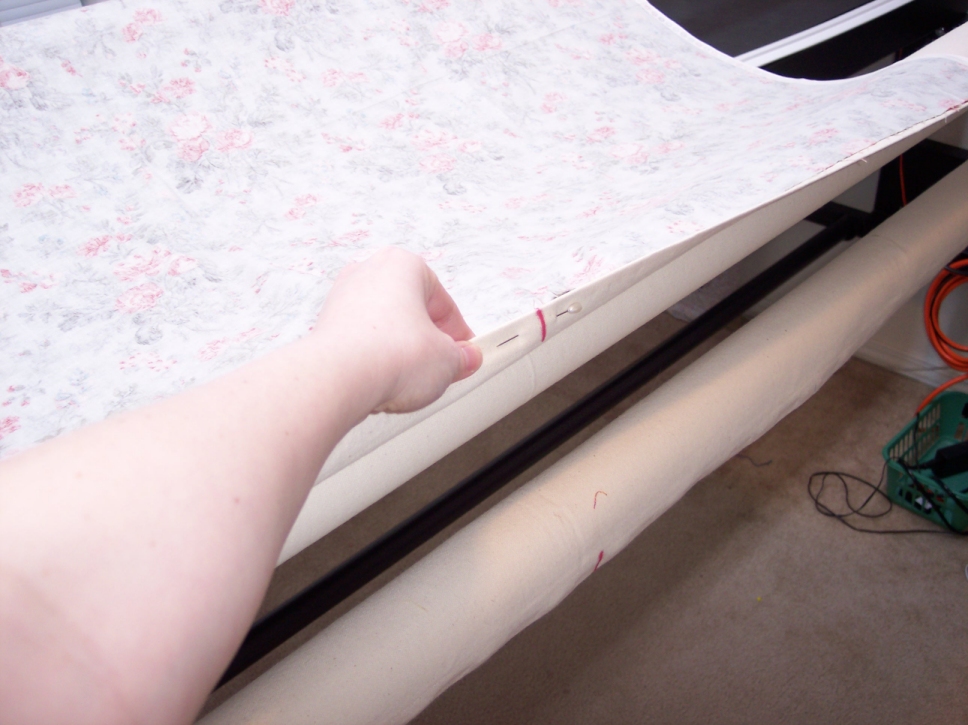
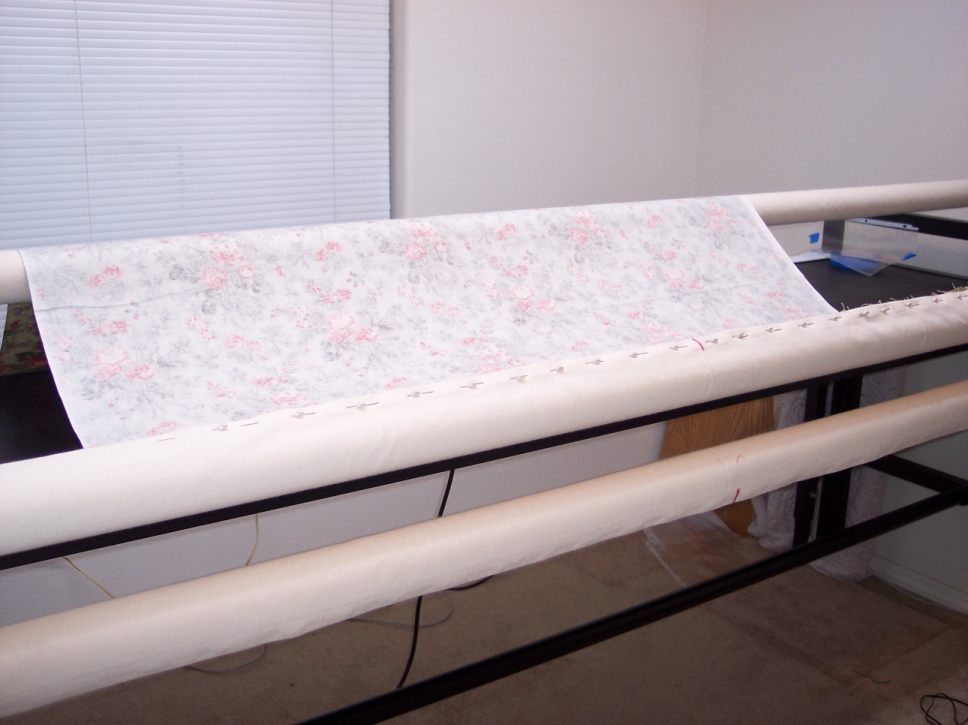
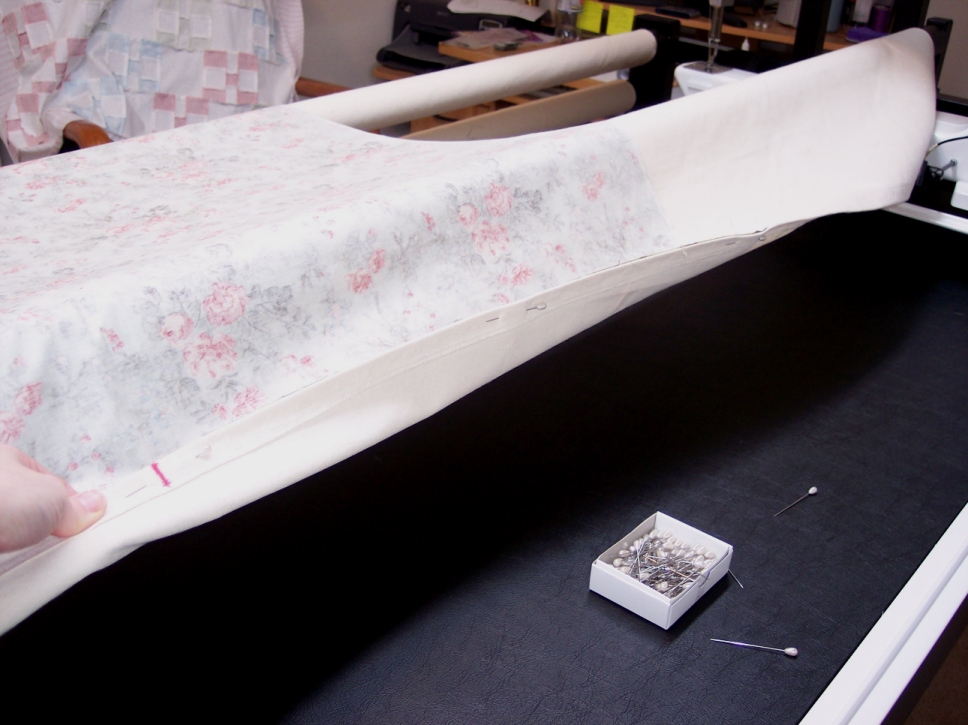
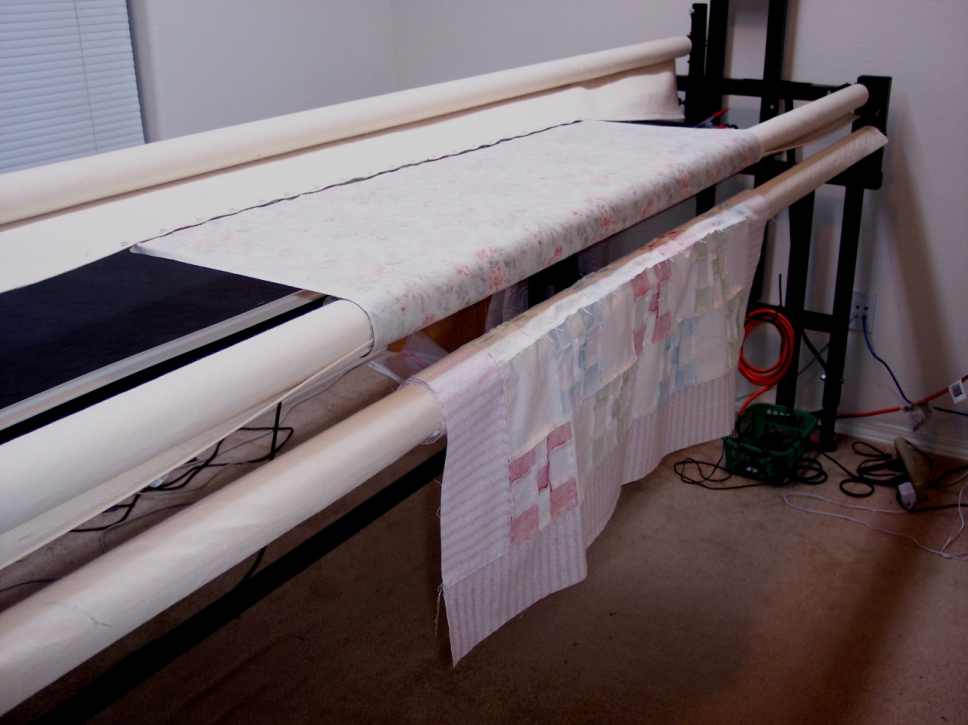
Step 5: Next, you drape the backing over your frame FACE DOWN so that you can begin
pinning the bottom of the backing to the proper reel.

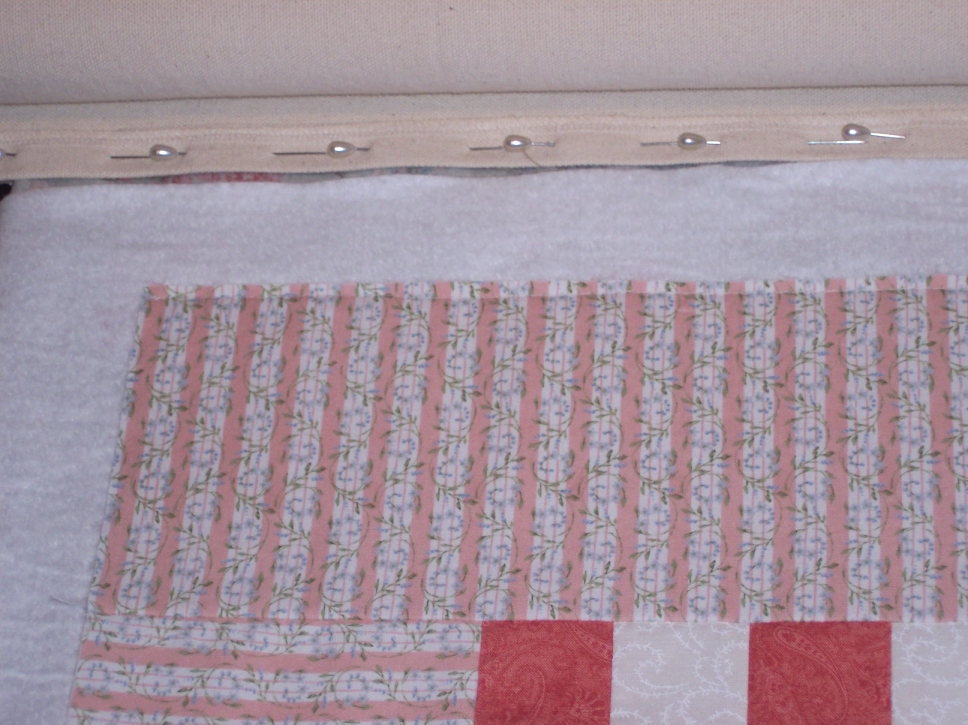
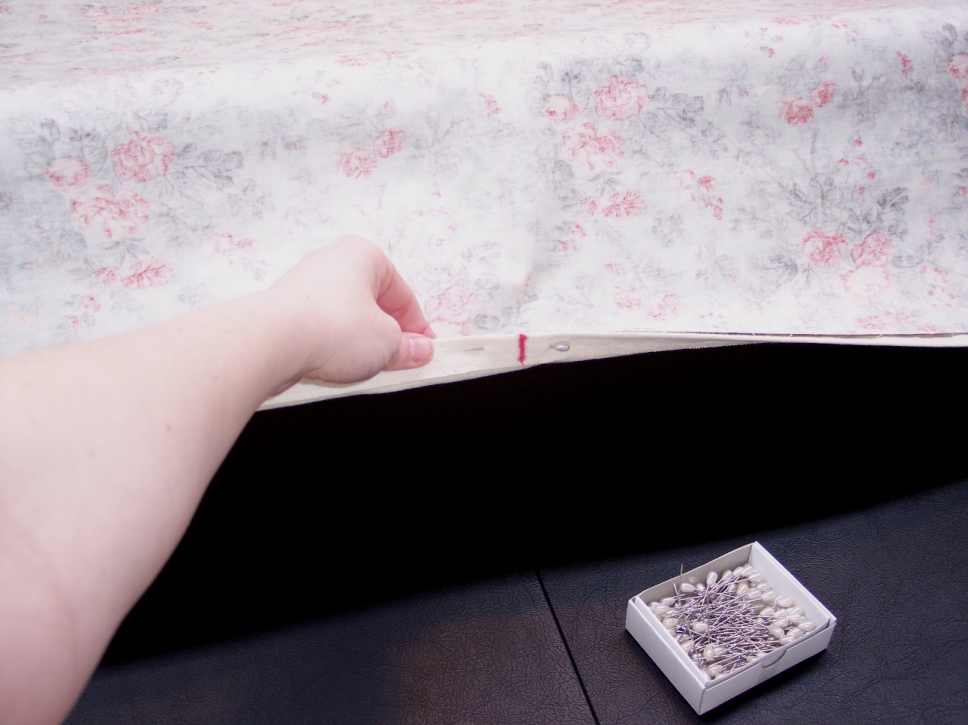
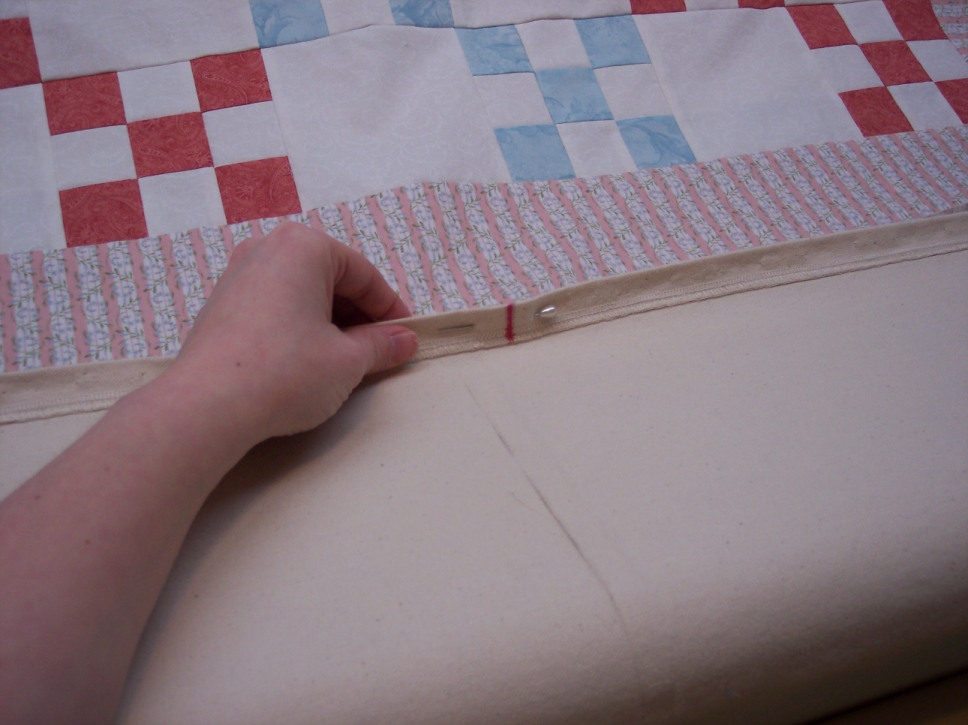
Step 6: Line up the center of your backing with the center of the BACK leader. Put your first
pin here, so that the pin is on the opposite side of the leader fabric as the backing fabric.
Step 7: Then, every foot out from that first pin, put another pin. Be sure to keep your backing nice and
flat against the leader fabric, but don't stretch it out.
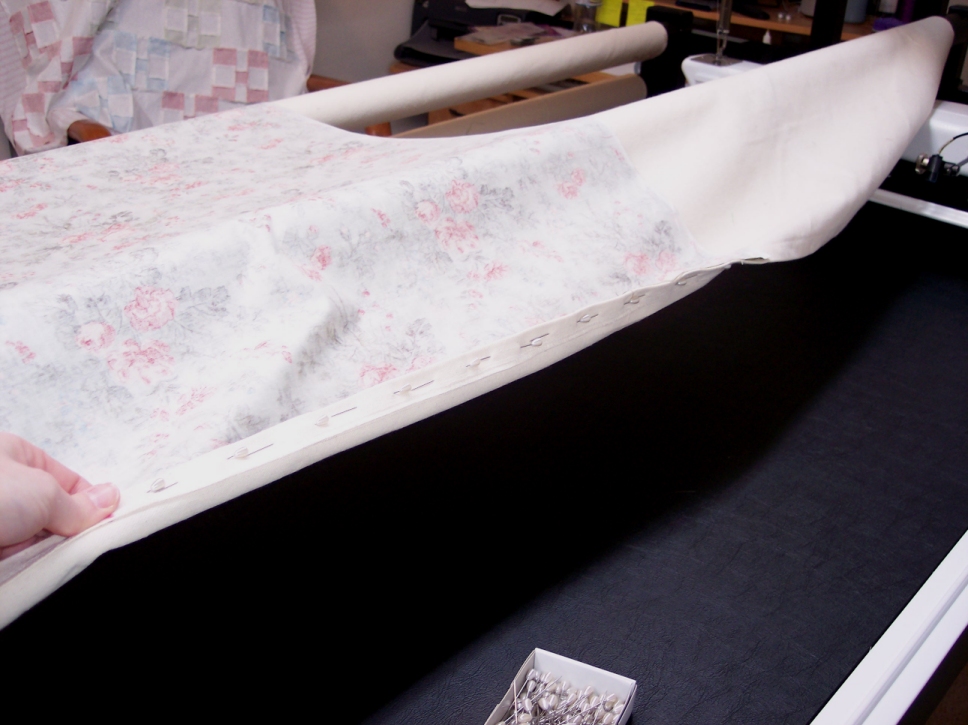
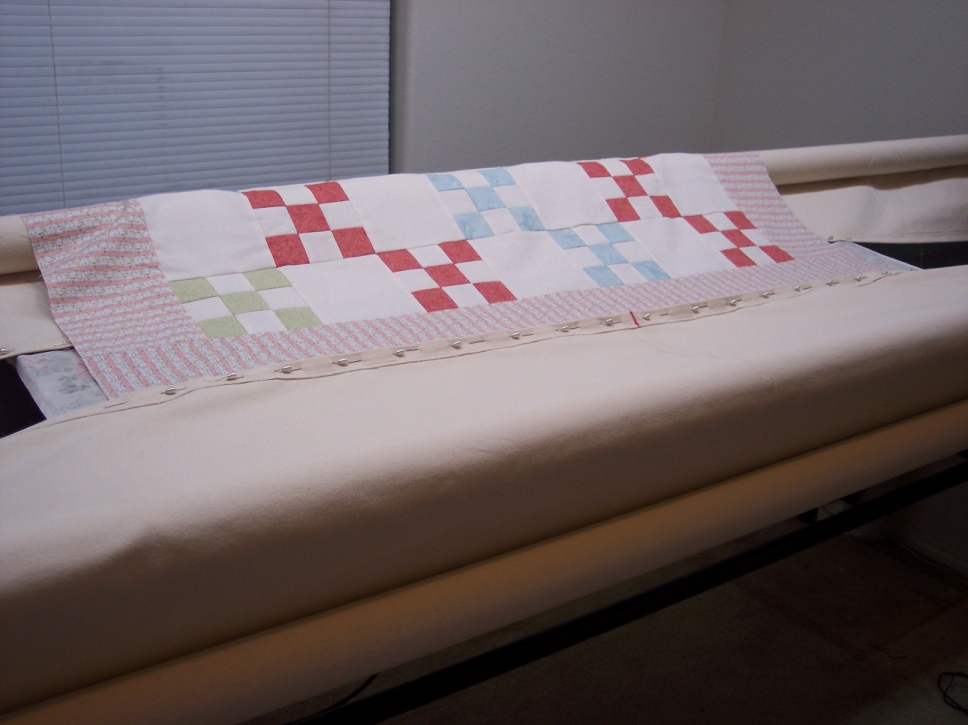
Step 8: Once you've pinned every foot or so, go back and fill in with additional pins so that the point
of one pin touches (or comes close to) the head of the next pin.
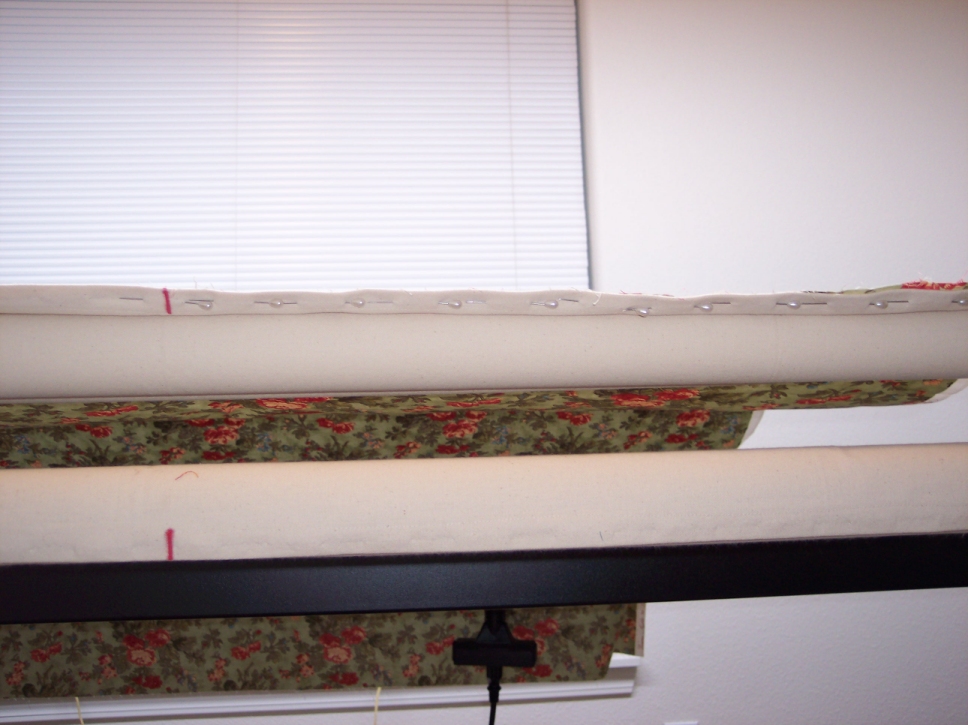
Step 9: Continue pinning until the backing has been pinned on completely.
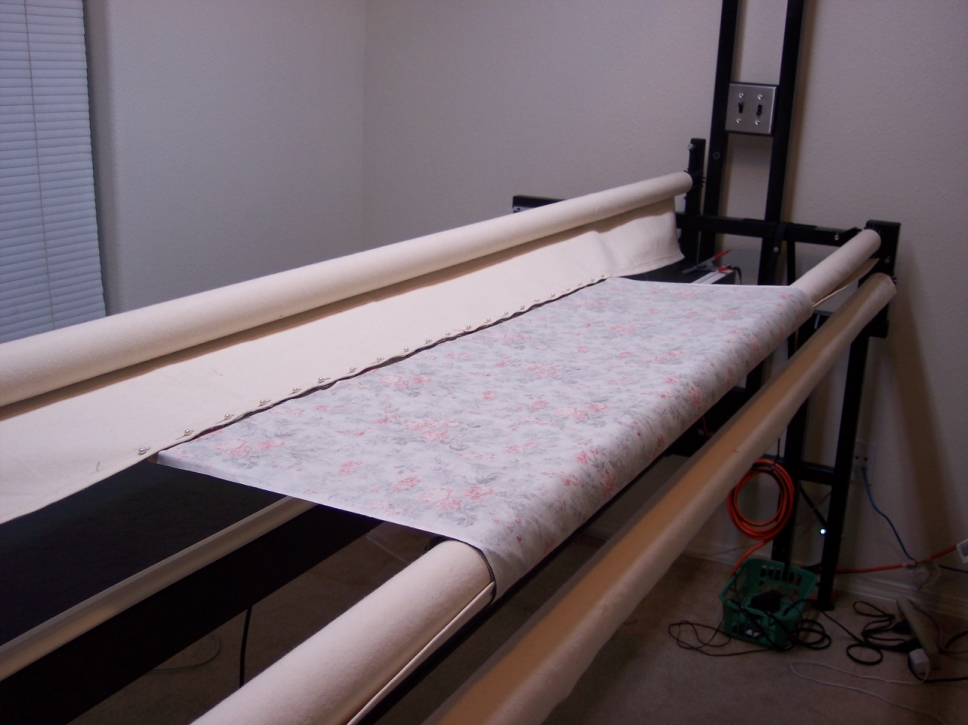
Step 10: Now wind up the backing onto the BACK reel until there is just enough still hanging over the
PICKUP reel so that you can pin that part.

Step 11: Walk around to the back of your frame, it is time to pin the other side of your backing onto the
PICKUP reel. Like before, start with a single pin in the center of your backing and the PICKUP leader, keeping the
leader fabric between the pin and the backing fabric.
Step 12: As before, put in a pin about every foot from the center pin.
Step 13: Then go back and fill in as you did before, until the backing is completely
pinned to the PICKUP leader.
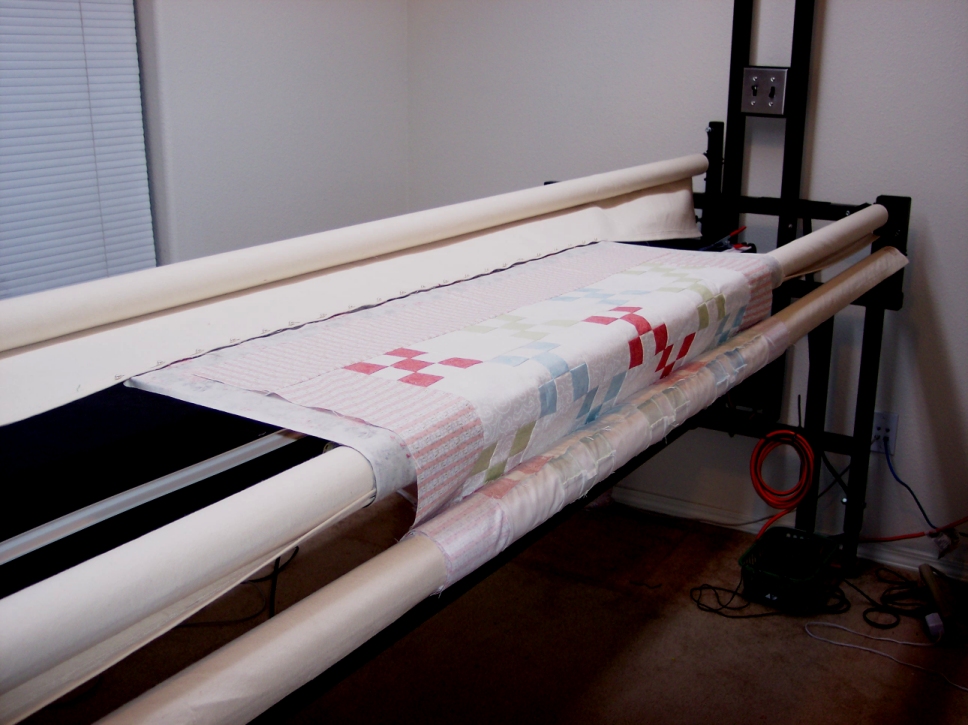
Step 14: When you have the backing all pinned, continue winding the backing onto the BACK reel until it
looks like this. DO NOT make it too tight, leave it fairly loose between the reels.

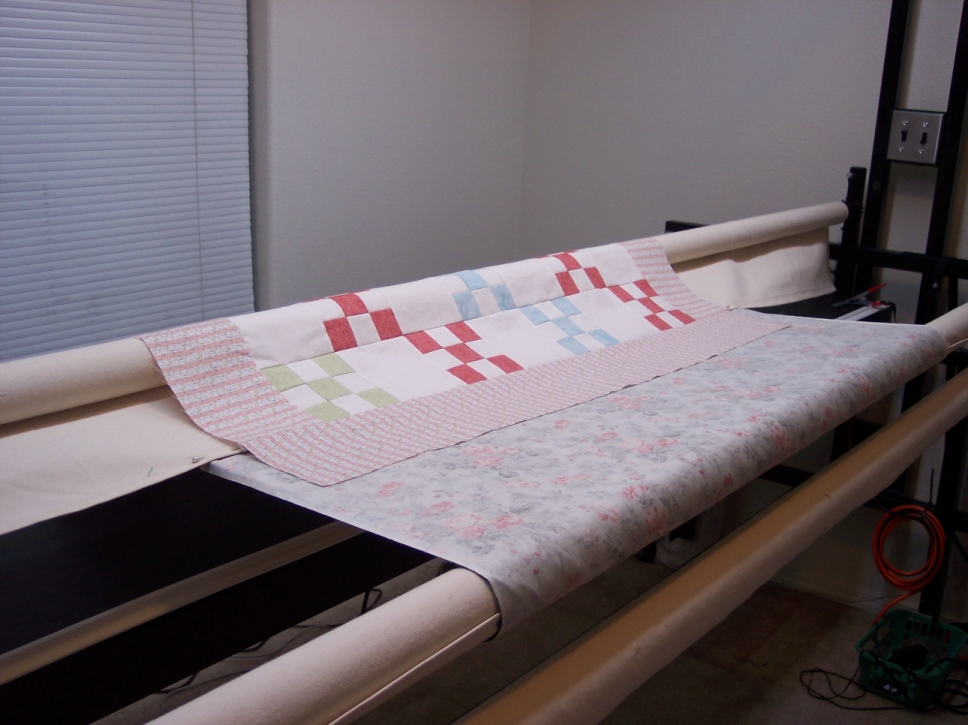
Step 15: Now it is time to put the quilt top on the frame! Drape the quilt top FACE UP over the frame so
it is centered on the backing.
Step 16: Pull out some length of the TOP leader and lie it on top of the backing so that it is up against
or slightly over the edge of the quilt top.
Step 17: Pin the quilt top to the TOP leader just like we did with the backing. Put
a pin in the center of the quilt top so that the leader fabric is between the pin and the quilt top.
Step 18: Continue pinning until the entire top is pinned to the TOP leader.
Step 19: Once you've got it pinned, wind up the quilt top onto the TOP reel. Leave some of the quilt top
lying on the backing fabric, leaving 1-4 inches of space between the edge of the quilt top and the line of pins holding
the backing to the PICKUP reel.
Step 20: Now bring the quilt top forward so it hangs off the TOP reel, opening up the space between the
TOP and the BACK reels.
Step 21: Thread your batting between the TOP and BACK reels and pull enough out so that
it lies nicely on top of the backing material and the edge of the batting lines up with the edge of the PICKUP leader.
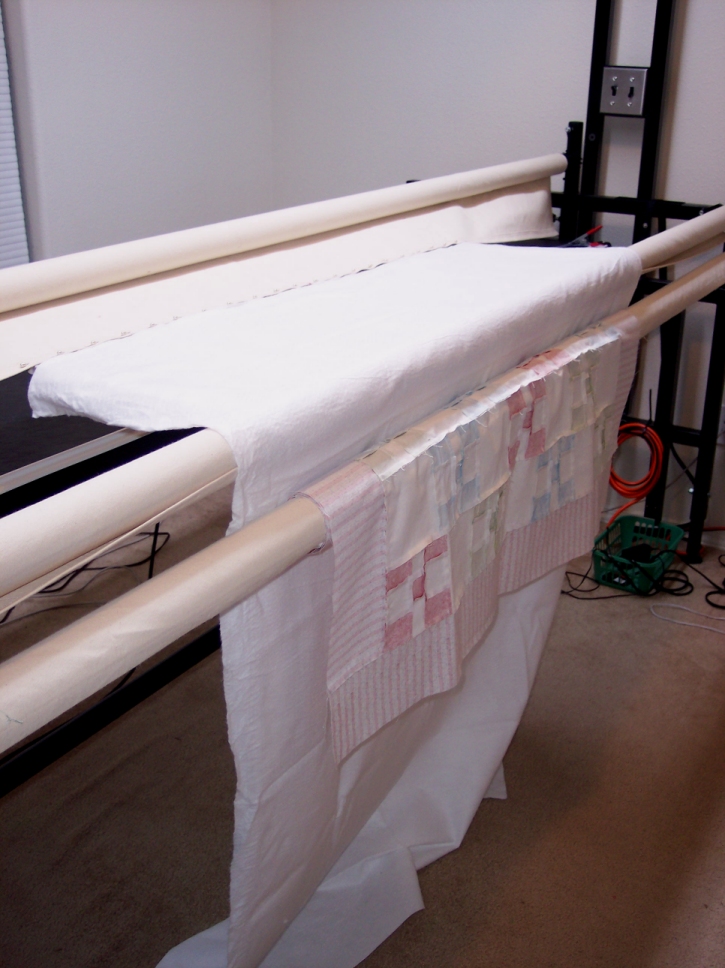
Step 22: Bring the quilt top back up and over the batting, making sure to smooth out any wrinkles and lining
it up straight.
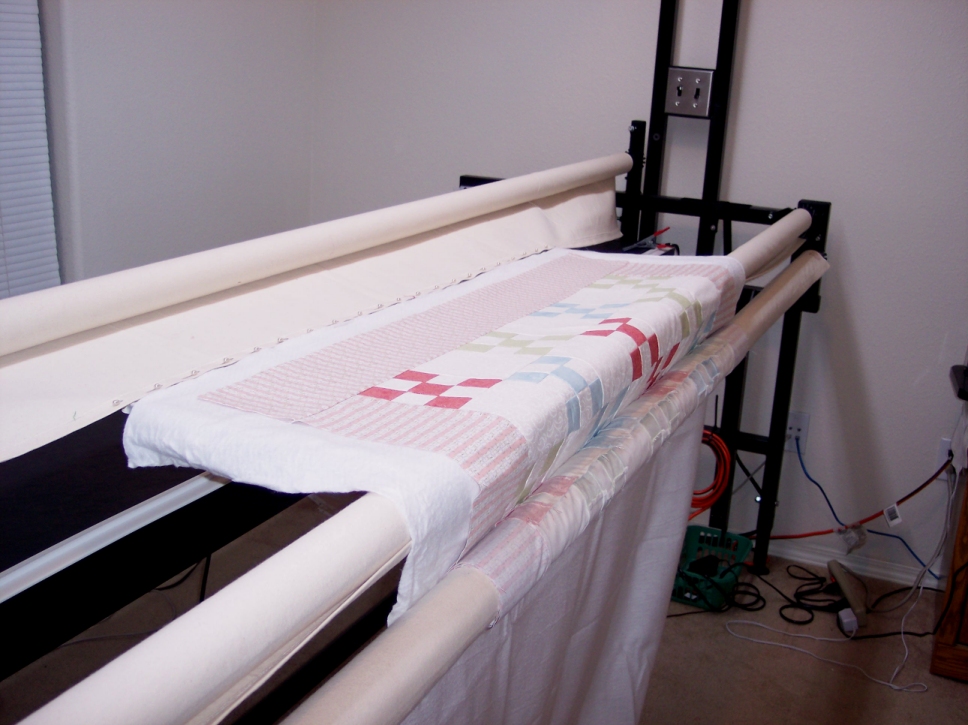
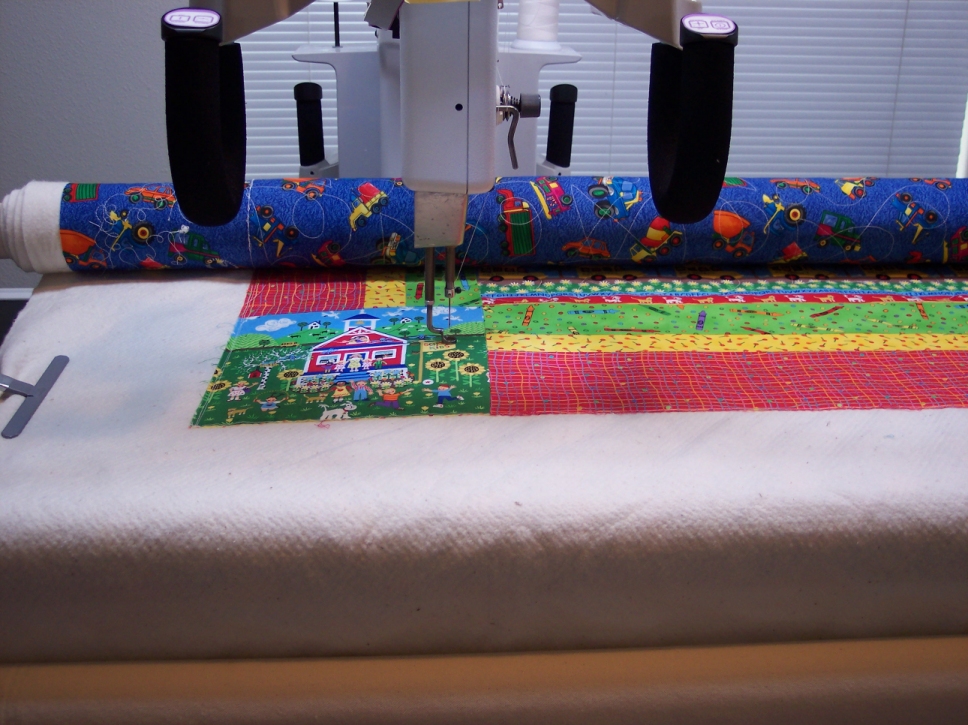
Step 23: Now you can baste the quilt top down. Using a slow stitch (around speed setting 20) or even going
one stitch at a time (with the needle up/needle down feature), sew the quilt top down as close to 1/4" to 1/8" from
the top edge.