Here are some additional photos for attaching the binding.
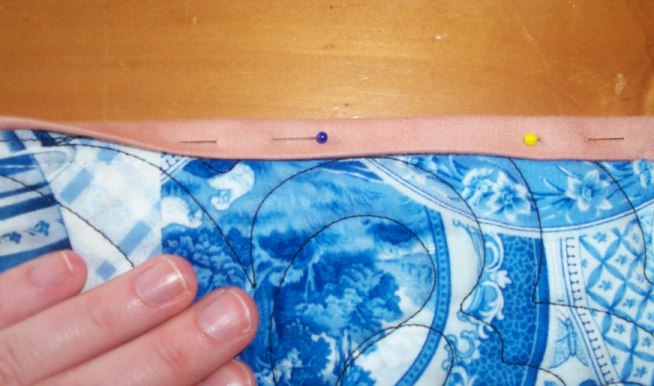
Photo 1: This is the binding after it's been sewn on. Notice that the raw edge of the binding has been
placed so it matches the raw edge of the quilt. Sew through all layers (binding, top, batting, backing).
Photo 2: Here's a shot of the edge of the quilt so you can see all the layers together.
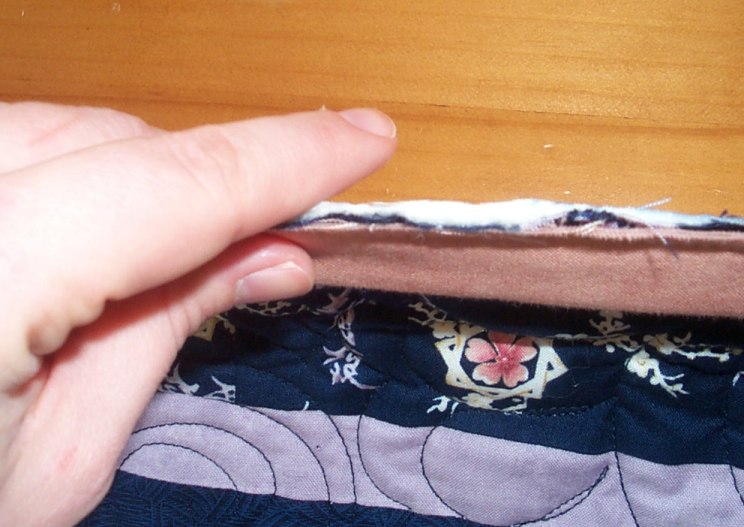
Photo 3: And here's a shot of the back of the quilt with part of the binding wrapped around already, and
part that still has to be wrapped around and pinned for sewing. (Remember, this step in the sewing really should
be done by hand.)
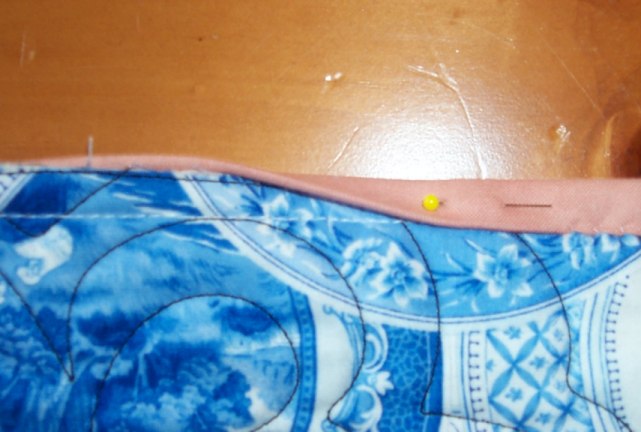
Photo 4: Here I am pulling the binding tight so I can wrap it around to the back of the quilt.
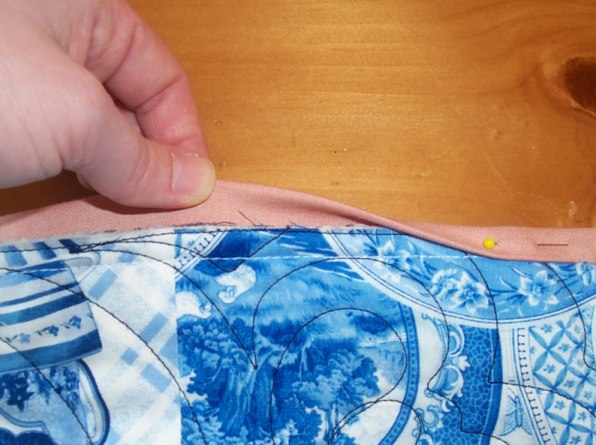
Photo 5: I've got the binding folded over, it just needs to be pinned.
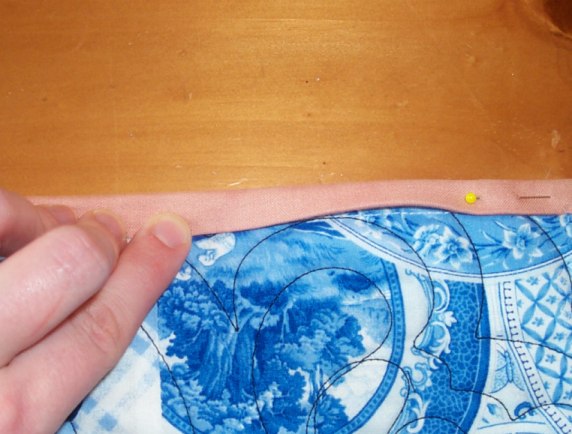
Photo 6: And here we have the binding pinned in place, ready to be sewn. Notice how the binding is covering
the line of stitching that was made when the binding was sewn on.