This is a photo companion to the pattern Square Dance, provided by Silver Lane Quilting. This page is in no way meant to infringe
on copyright, it is only to help clarify the process of making this pattern. You can download their pattern here:
Square Dance Pattern
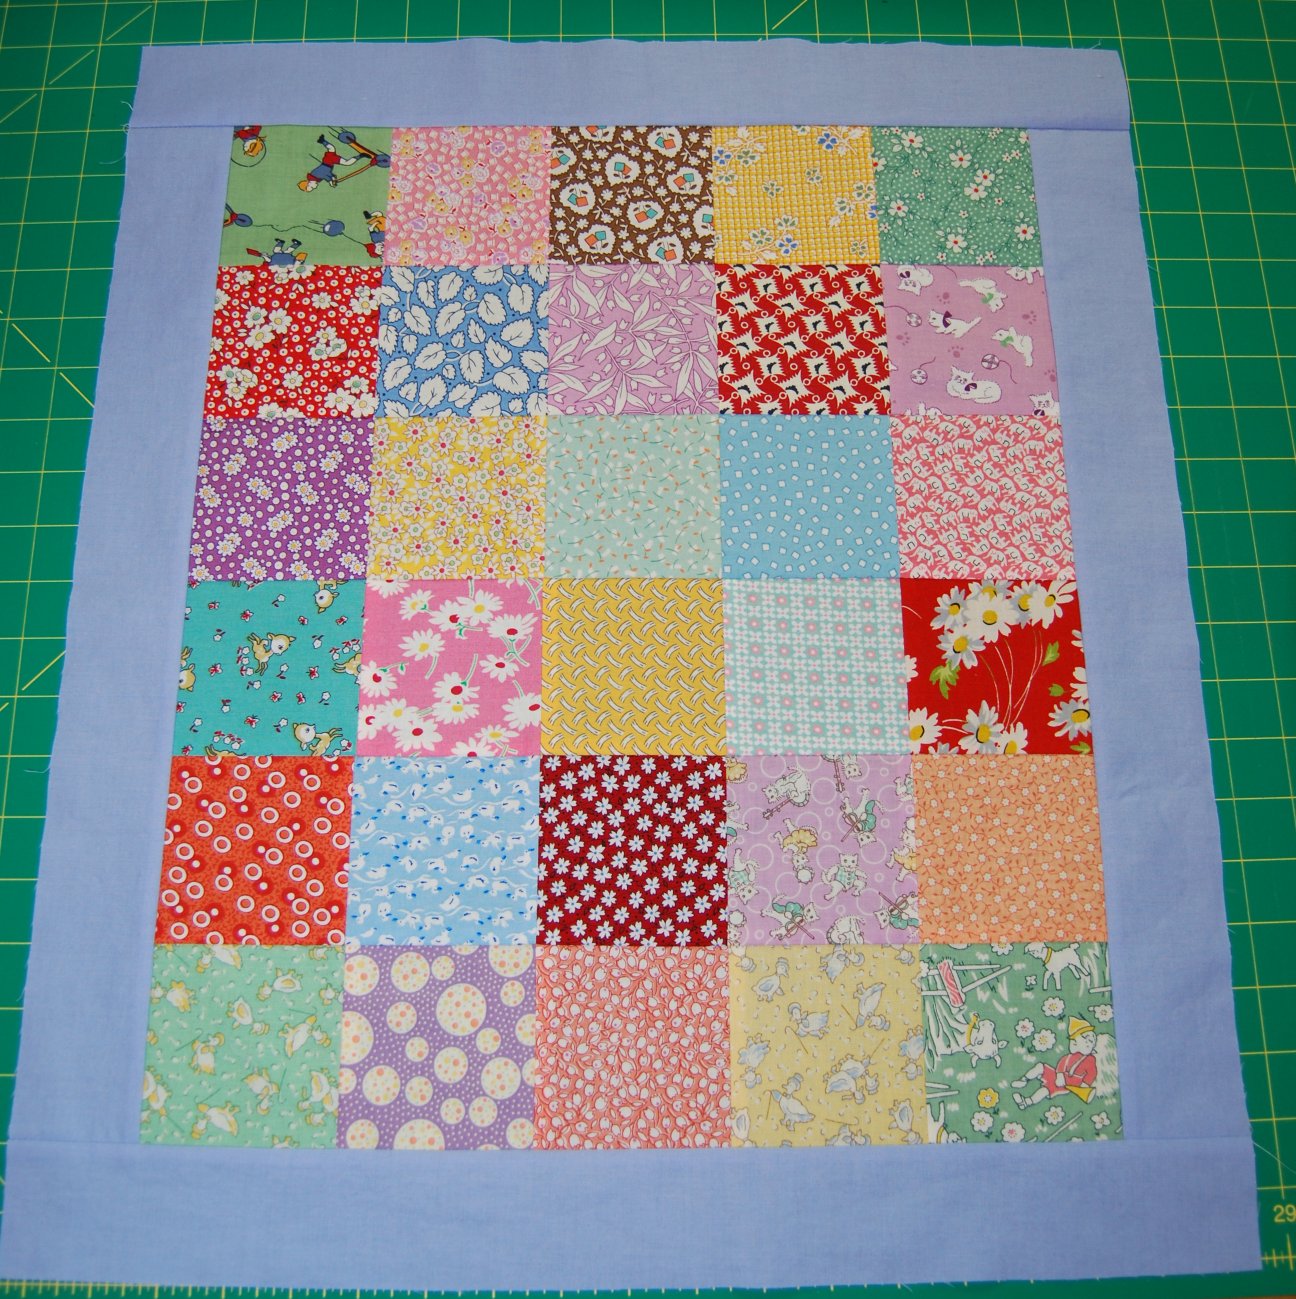
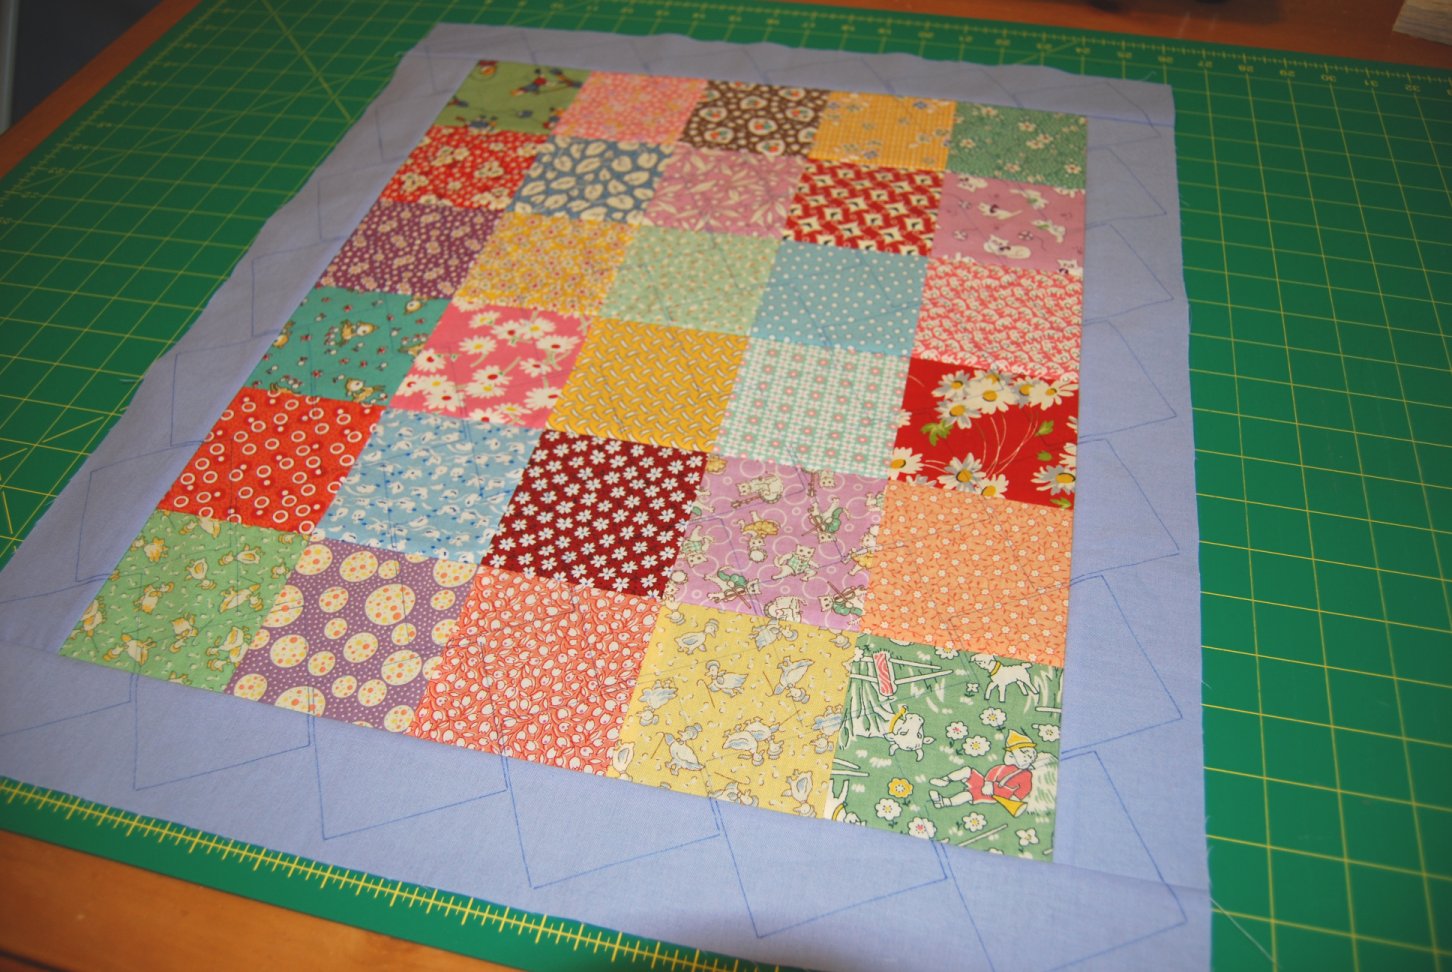
1. First, you are to sew together your charms as they are, as squares. Add on a border in a color that compliments your charms.
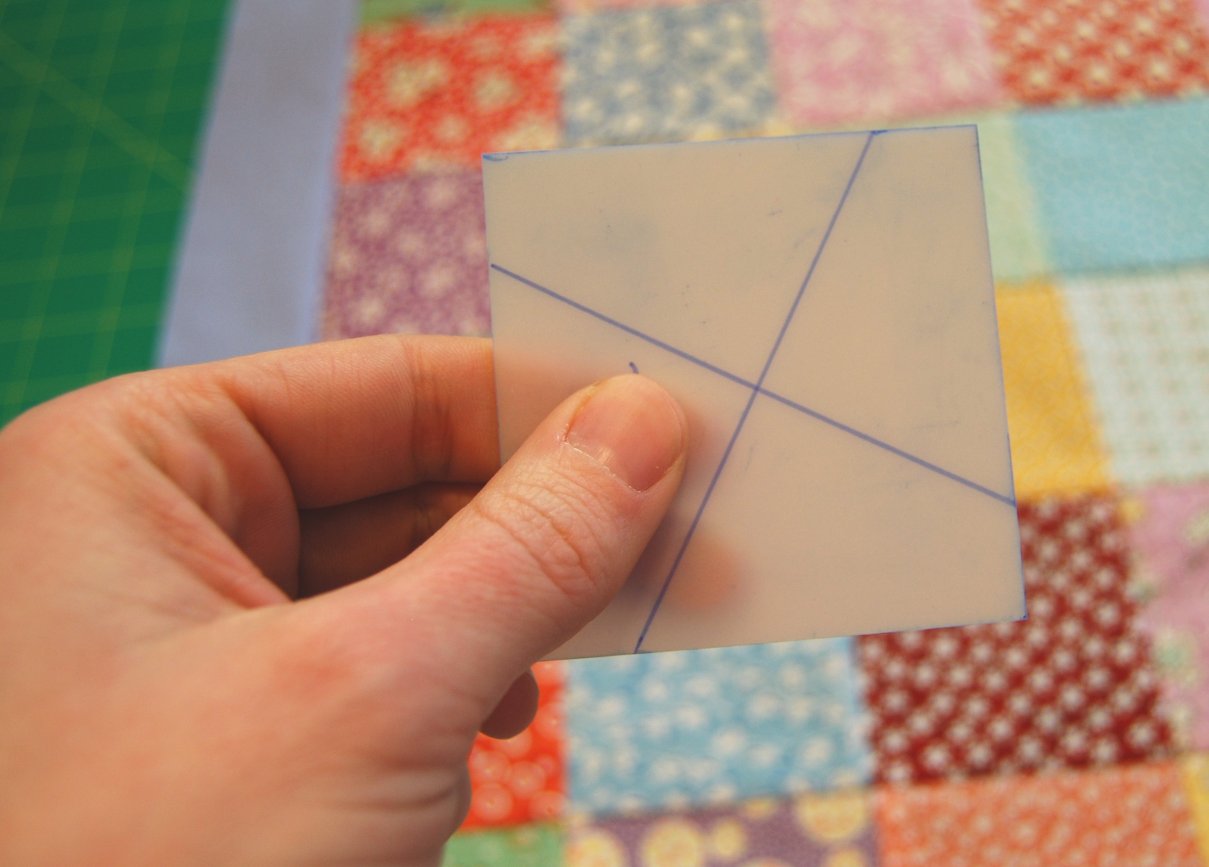
2. Now, you will need to make yourself a template or ruler for cutting the pattern pieces. The pattern gives directions on how
to mark a ruler to cut out your pattern pieces. I decided to do it a little differently and I made this template out of some
template plastic.
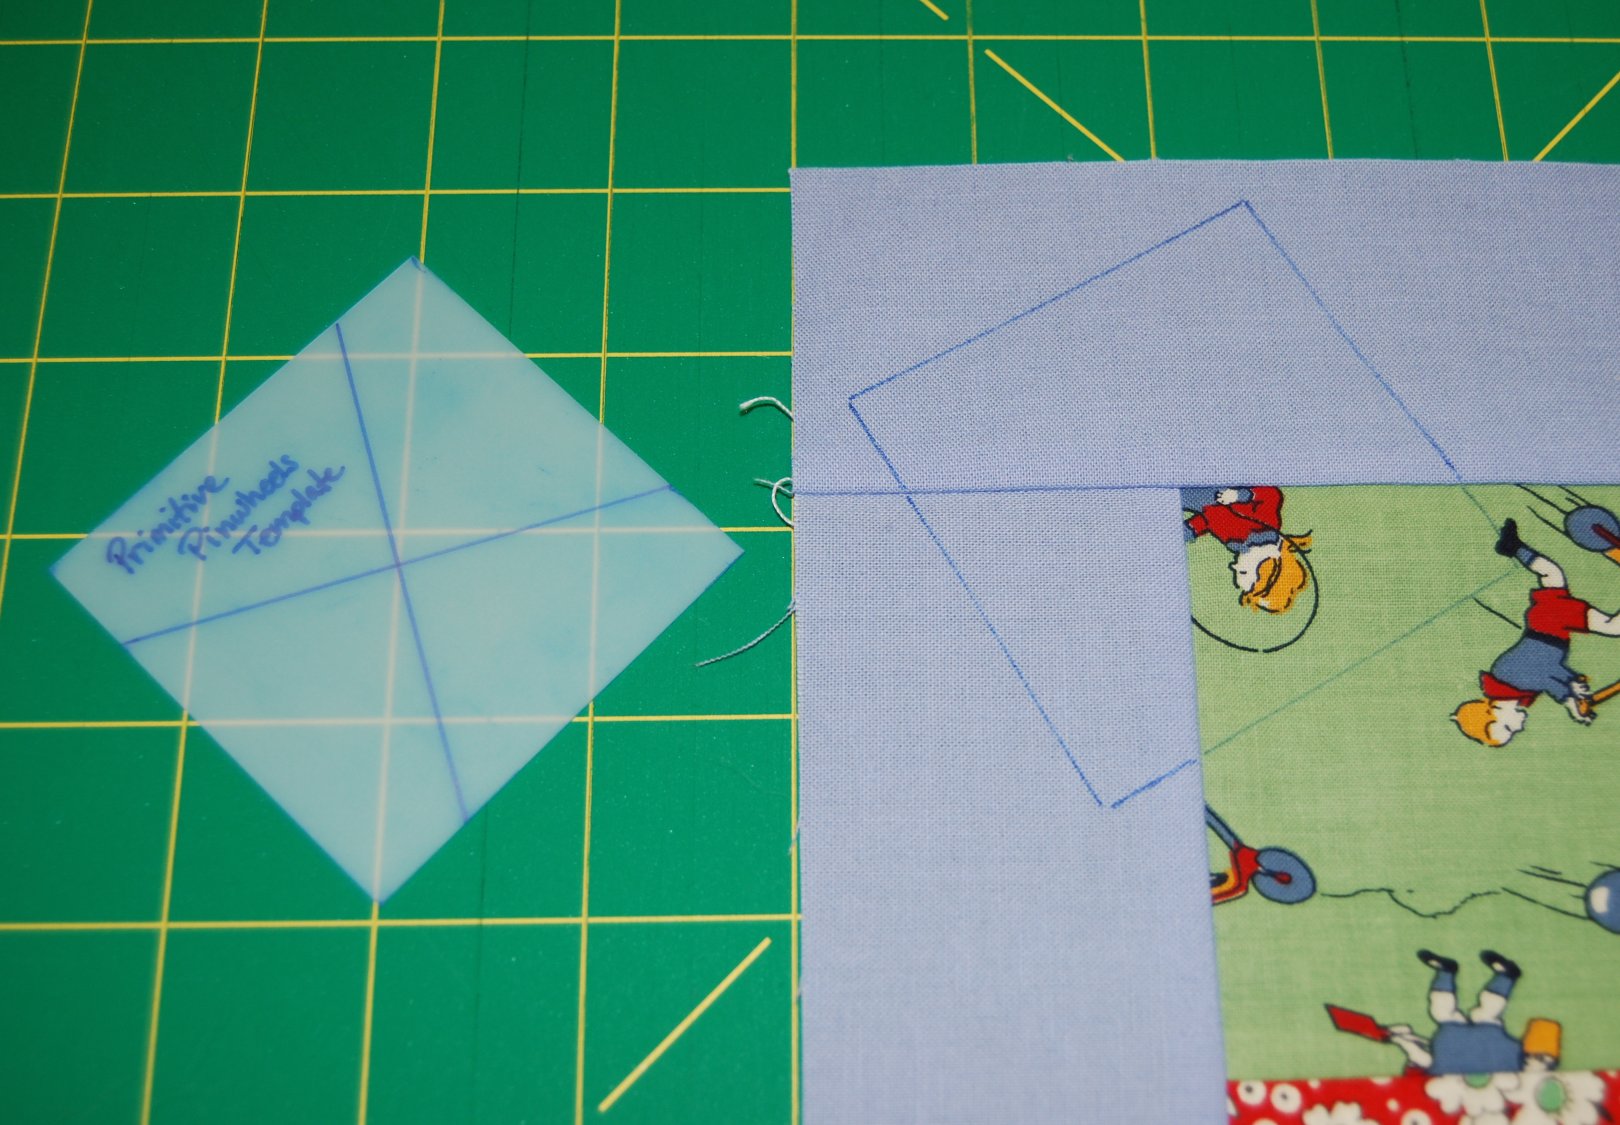
3. First, line up the drawn lines on your ruler or template so they line up with your seam lines as pictured.

4. Because I chose to use a template instead of a ruler, I traced around the template with a fabric marker. I used a permanent
marker because these are my cutting lines, and any marks that aren't cut off will be inside the quilt. Here is my first block
traced.
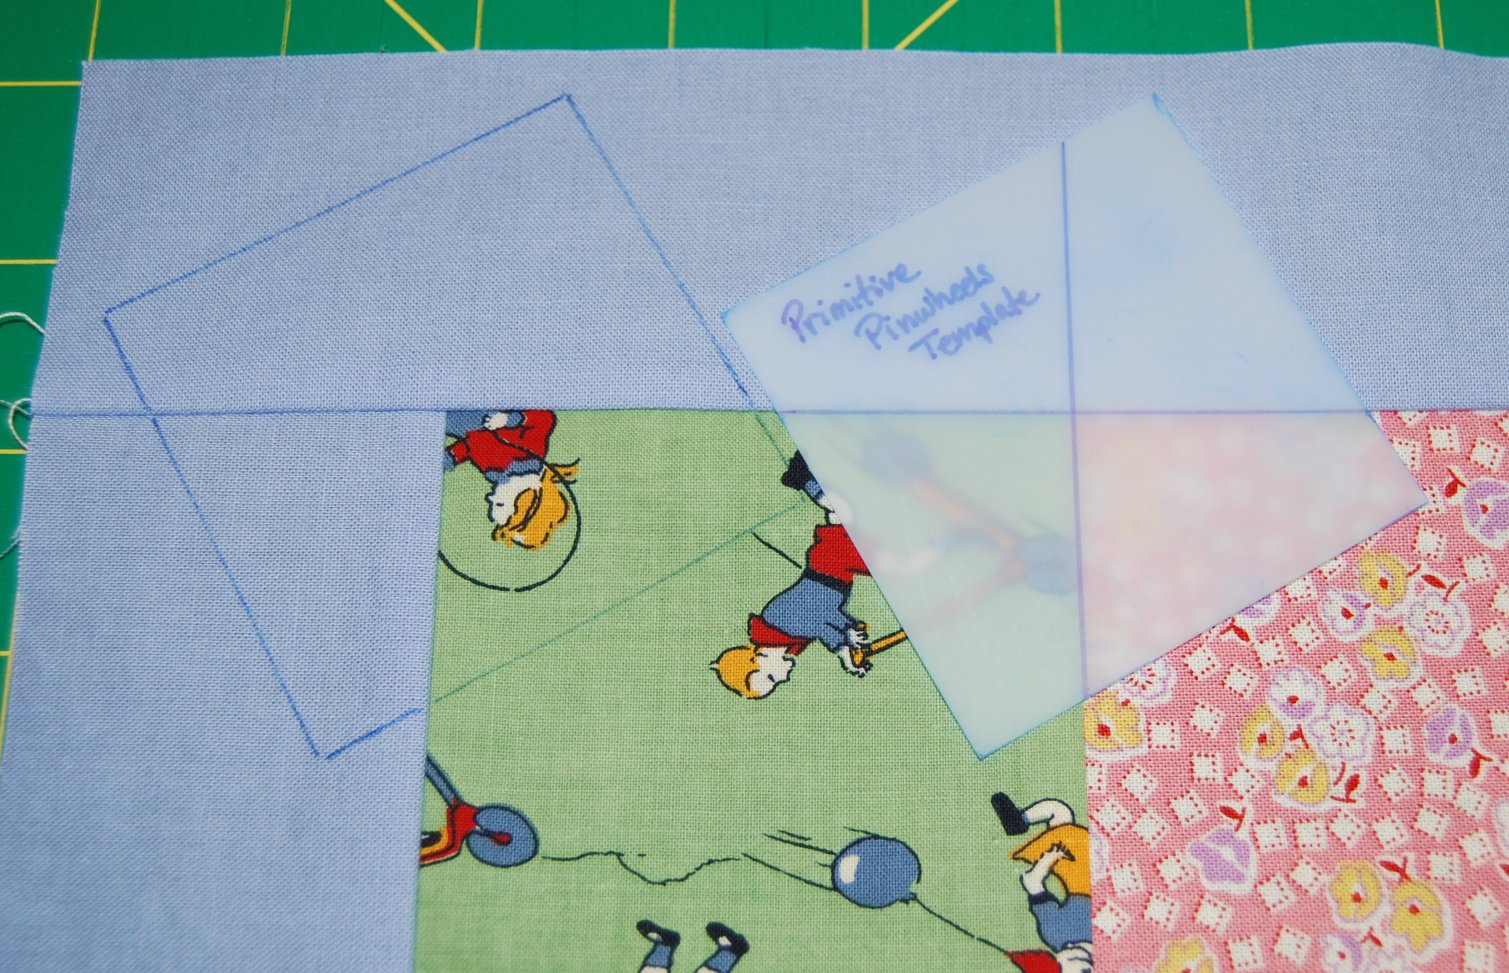
5. Moving on to trace the second block. Again, I line up the drawn lines on the template with the seam lines on the quilt, and
then I trace around the template. If you're using a ruler, line up your ruler like I've got the template and cut out your piece.
6. Here is the first row of blocks all traced. That didn't take long!

7. Continue lining up your template and tracing blocks until you've finished your entire top. My top was made with 30 charms
set 5x6, so I've traced 42 blocks (6x7). This is how we get the border included in the pinwheels top.
8. Once you're done tracing, cut out one row of blocks at a time. I used my rotary cutter (and my scissors where needed)
to cut out the first block.

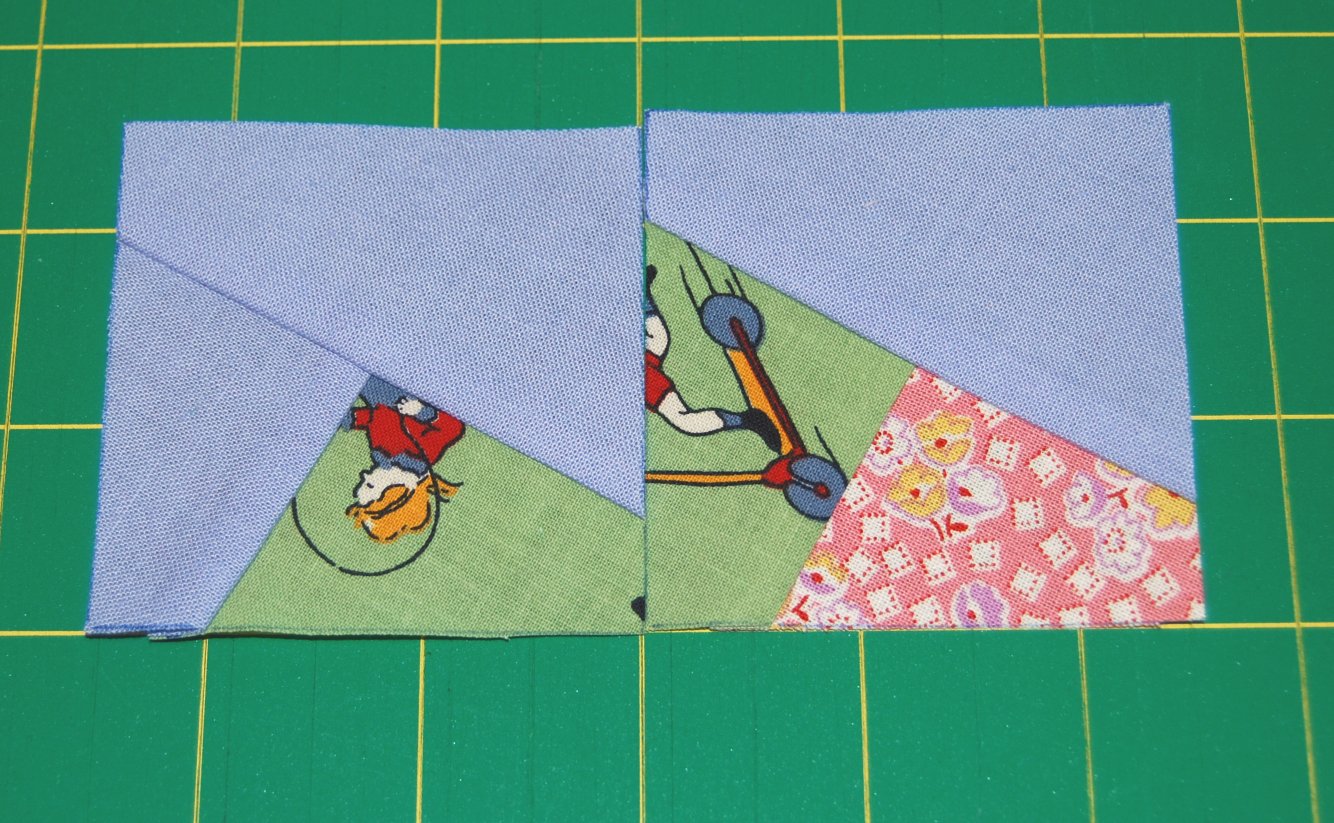
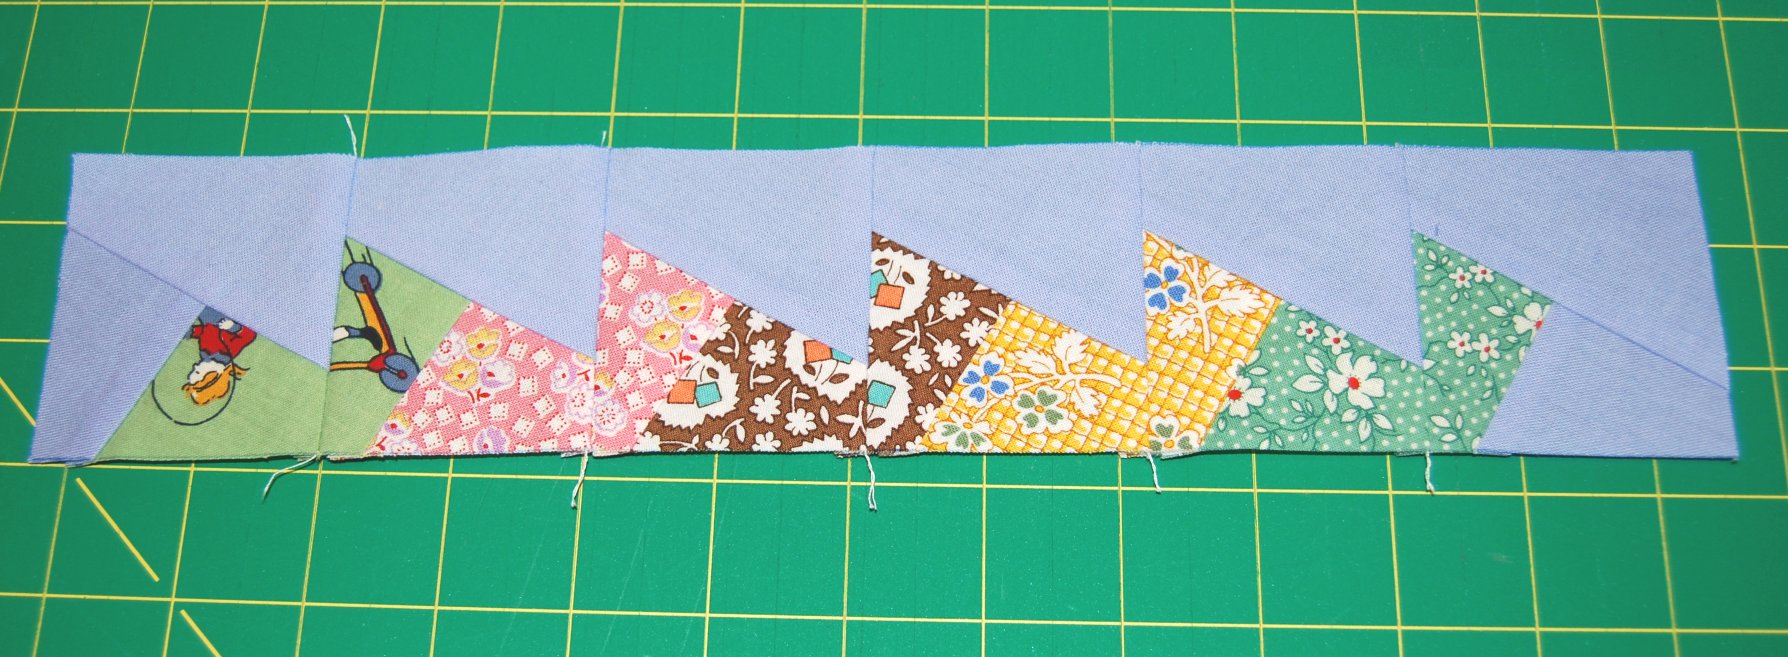
9. Here are the first and the second blocks cut out.
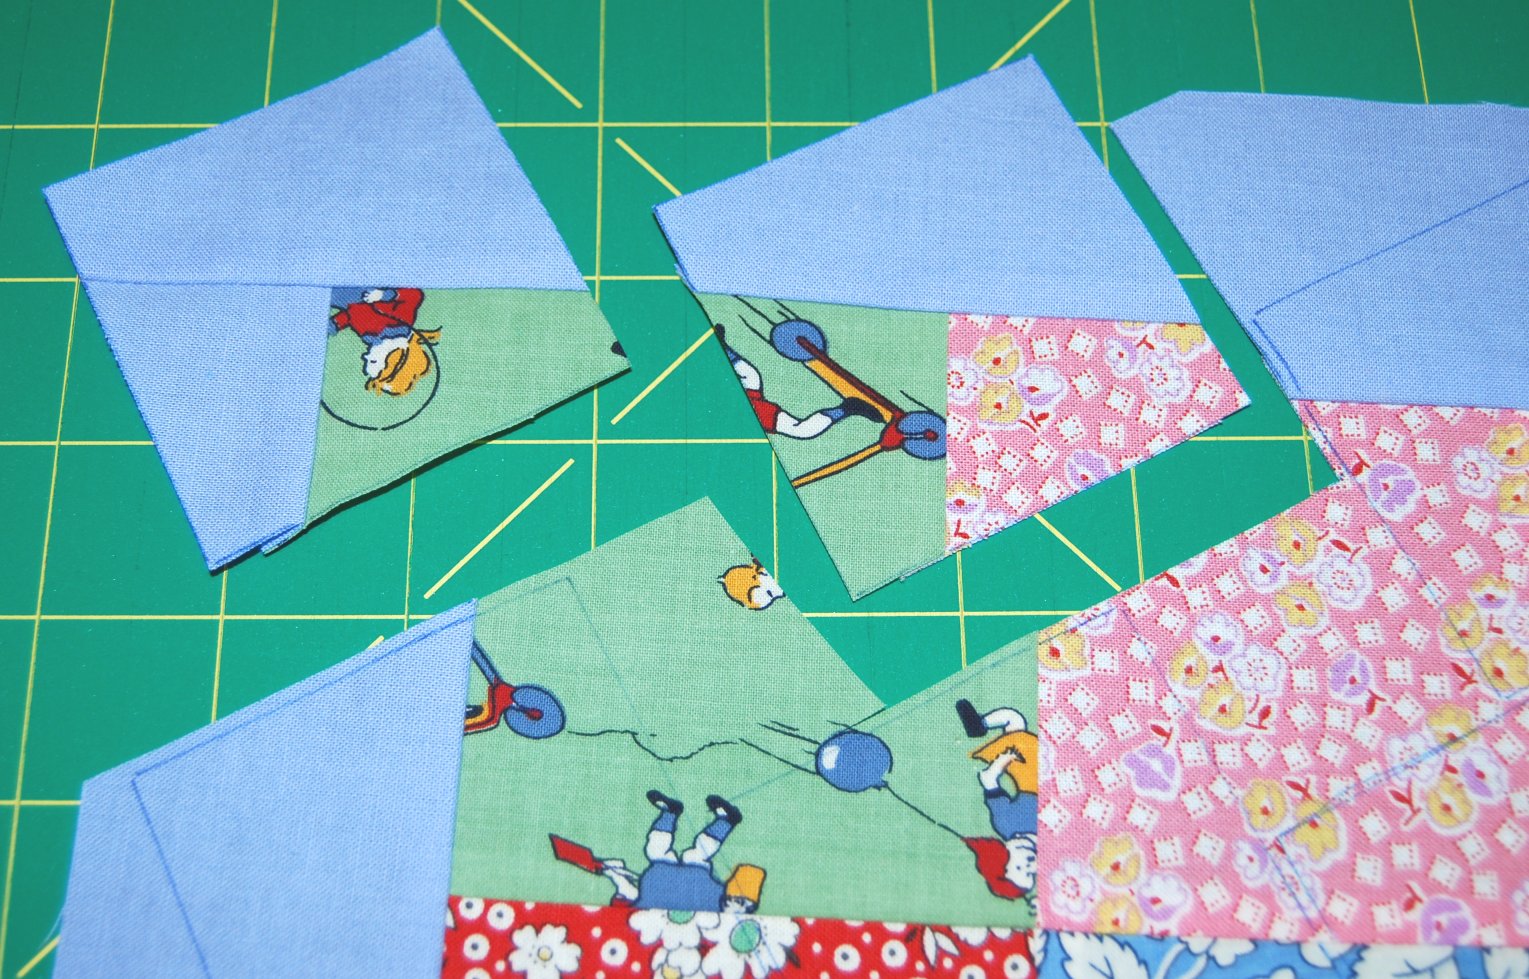
10. See how your first two blocks fit togehter to make the start of a pinwheel?
11. Here are all the blocks for my first row cut out and ready to be sewn. I recommend you sew each row together as you
cut them out, so there's no confusion as to how the blocks should be oriented and so they don't get out of order.
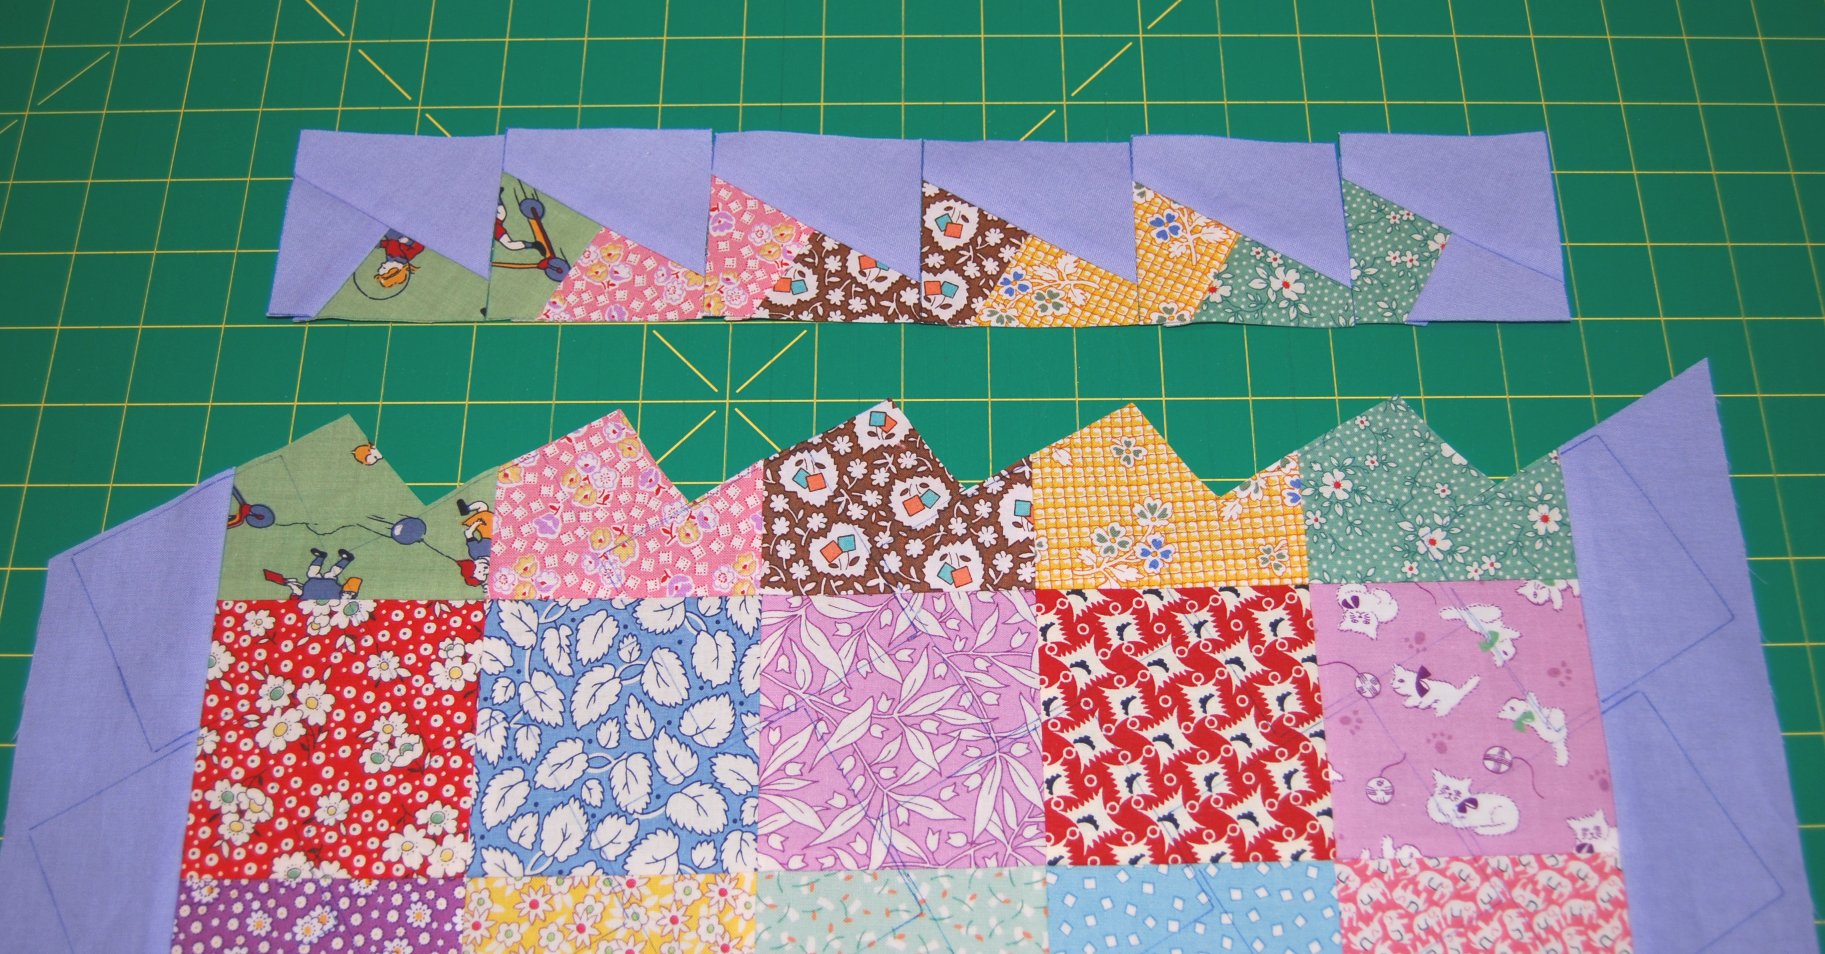
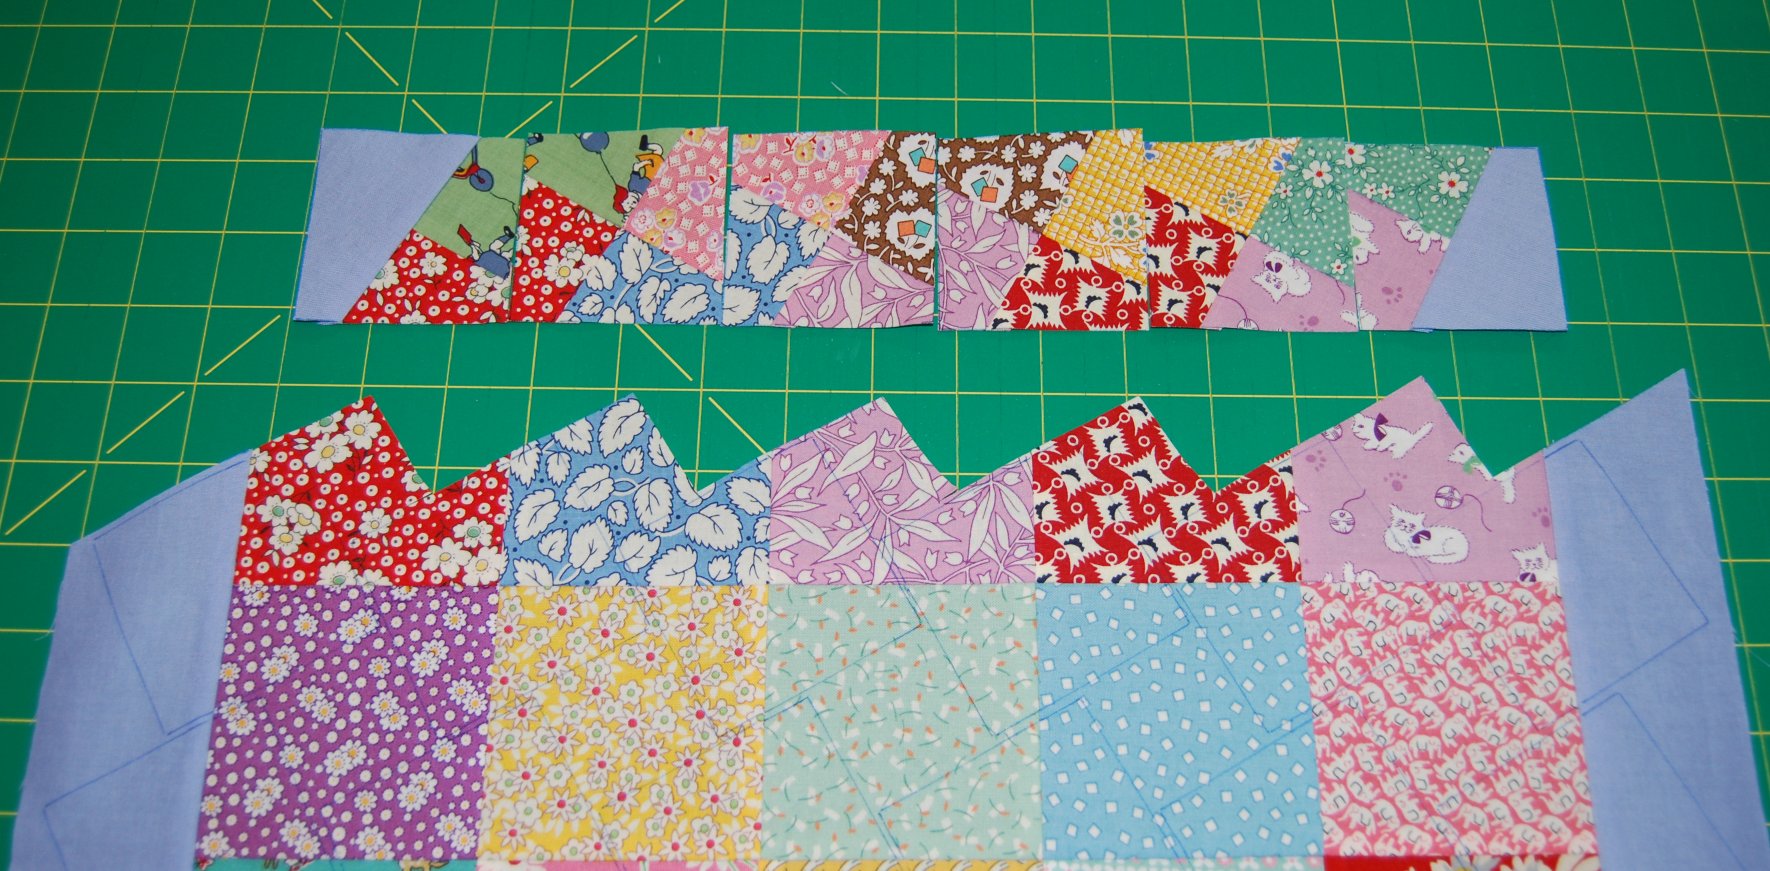
12. My first row, sewn together.
13. Now cut out the blocks for the second row.
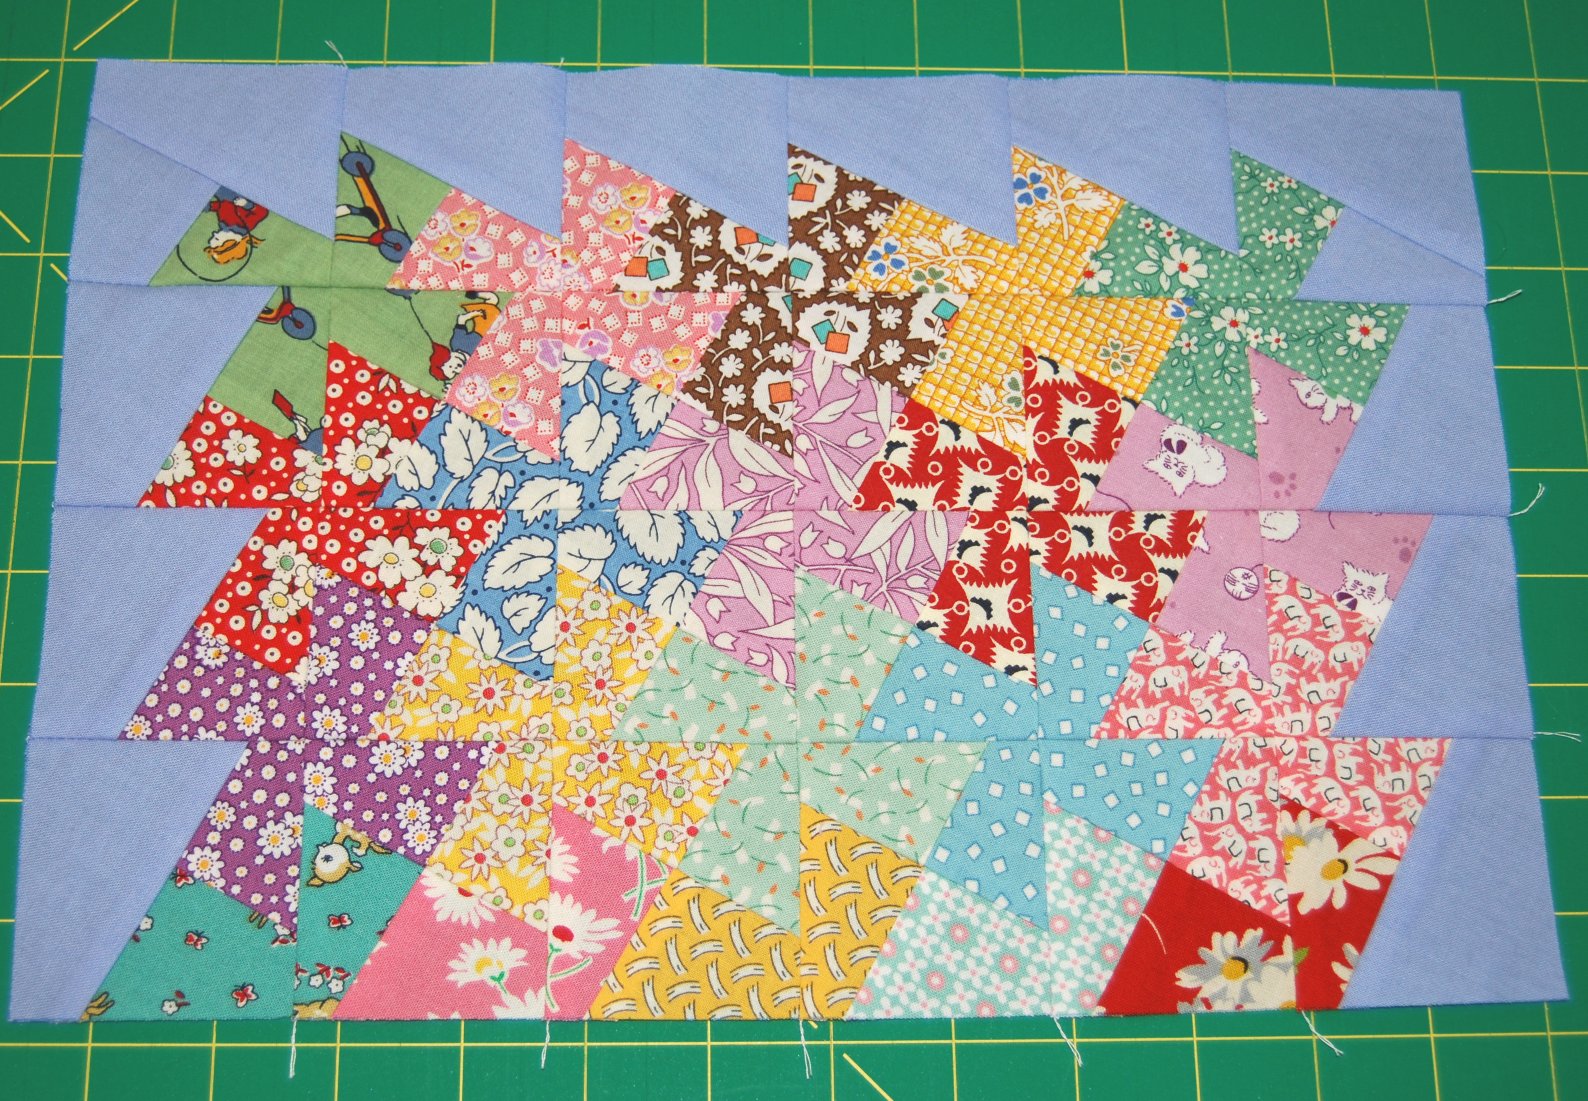
14. After you've sewn the blocks for the second row together, sew together your first and second rows. Again, this is to
ensure that all your blocks stay in the correct order and do not get mixed up.

15. Continue cutting out the rows and sewing them together. Now we're half way there! See how it's coming together?
16. Here's the completed center of my Square Dance doll quilt.
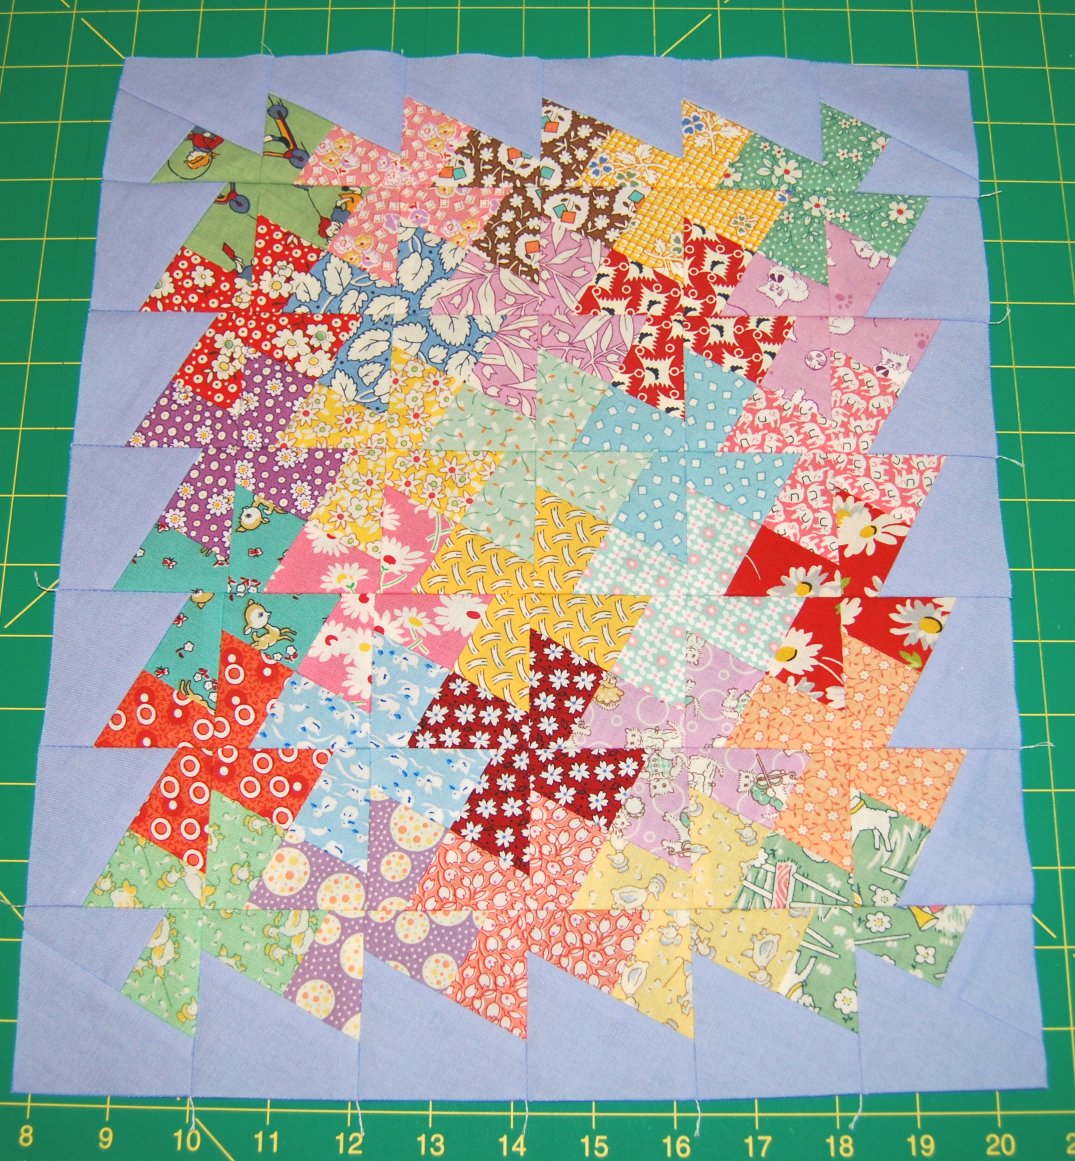
17. After adding borders, it's ready to be quilted and bound. :)

Total time elapsed from tracing the first block to having the top finished: 2 hours.
(I already had the charms and border sewn before I began, so that will add a little time to your total.)