I have gone ahead and made a demo binding to show you how I do it. Please excuse the poor quality of some of the photos, they didn't all turn out as well as I had hoped.
The first thing to do is to make the binding. Cut strips of material that are 2.5" wide, and cut enough strips to completely go around the quilt. Sew these strips together end-to-end to make a single long strip. Press the material in half along the length of the strip, with the right side facing out.
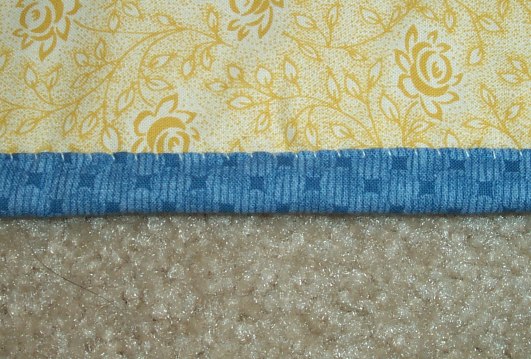
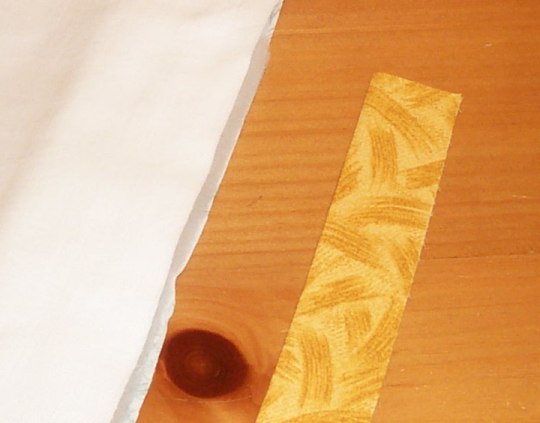
Photo 1: My demo quilt and the binding, ready to be attached. The quilt is shown completely layered, with
the white material being the quilt top, followed by the batting and the backing material, just like it would
be on a real quilt. The yellow material is the binding, already folded in half and pressed.
Photo 2: Pin the raw edge of the binding to the quilt top so the binding's raw edge is matched to the
quilt's raw edge.
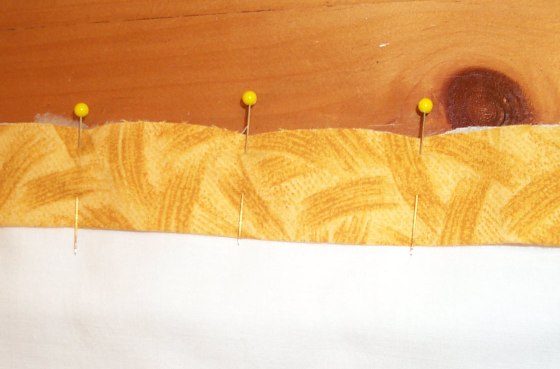
Photo 3: Now we sew the binding onto the quilt, going through all the layers (binding, quilt top,
batting, backing).
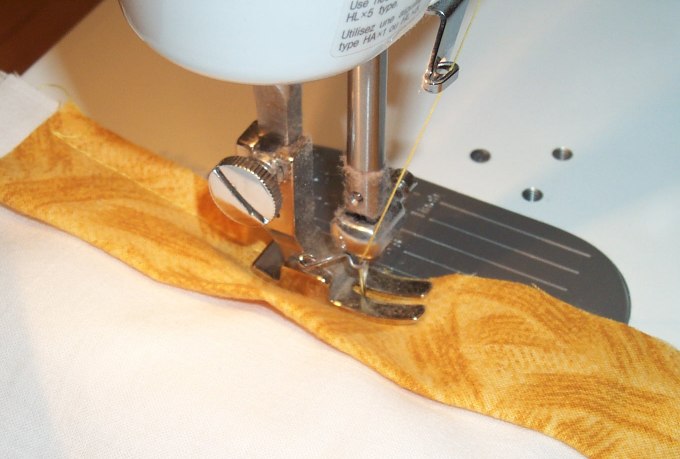
Photo 4: And here we have the binding, totally attached to the quilt.
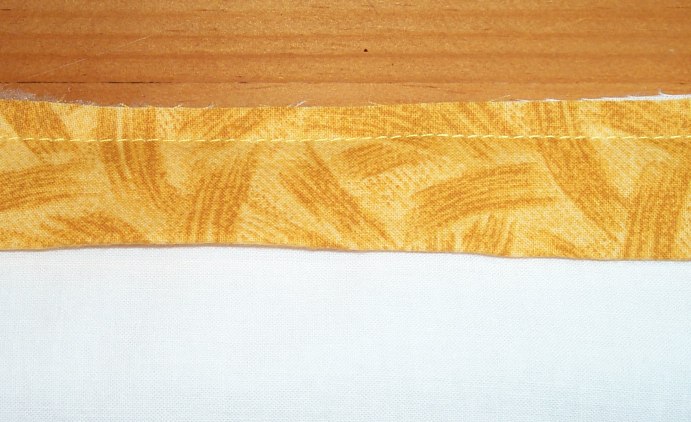
Photo 5: Now we have to fold the binding over to the back of the quilt. Turn your quilt over so that the
quilt top is facing down. Fold the binding over so that it covers the raw edges of the quilt and pin it to the
quilt backing. (If this step isn't clear and you need additional information, please take a look at
this page with more photos and explanations.)
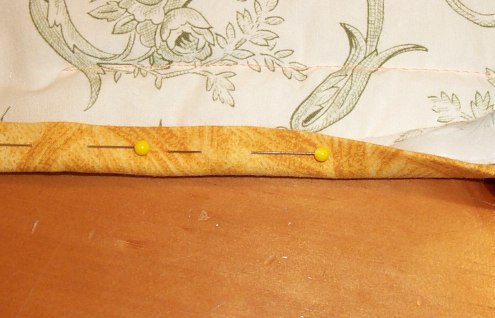
Photo 6: Now we get to start sewing by hand! Get a good sharp needle, a thimble (I love my leather thimble,
it fits like a glove), and some thread. I used contrasting thread to make sure my sewing would show up in the photos,
but you would want to use thread that blends in with your binding material to make the stitching less noticeable.
Thread your needle, make a good tight knot in yorur thread, then starting from the back side of the binding to hide
the knot, poke the needle through and pull the thread until the knot catches.

Photo 7: Now, hold the binding flat against the quilt back with your thumb. Just above the spot where the
edge of the binding touches the quilt backing, poke your needle through the backing.
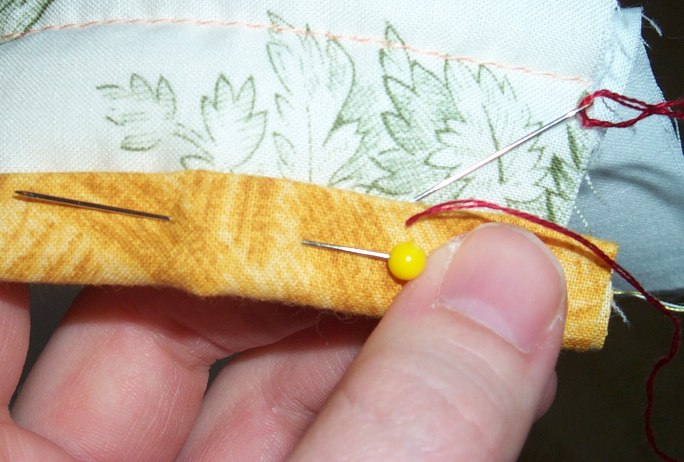
Photo 8: Angle your needle so that it will only catch the backing material, and come back up over to the
left so that it comes back through both the backing material and the binding.
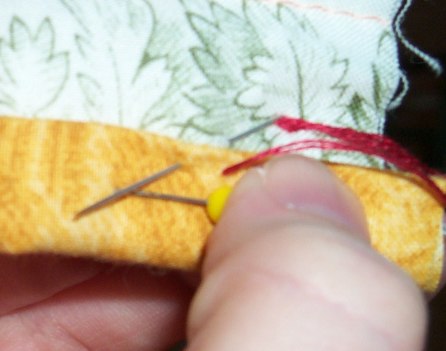
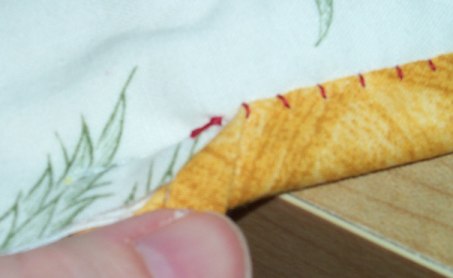
Photo 9: Pull the thread through and you've got your first stitch done!
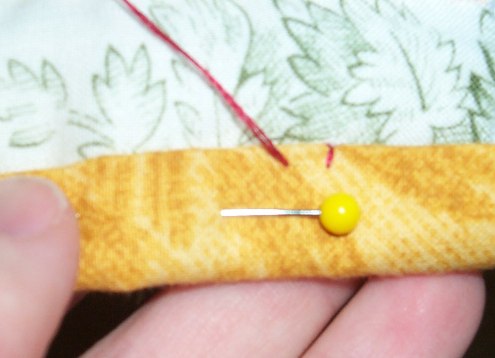
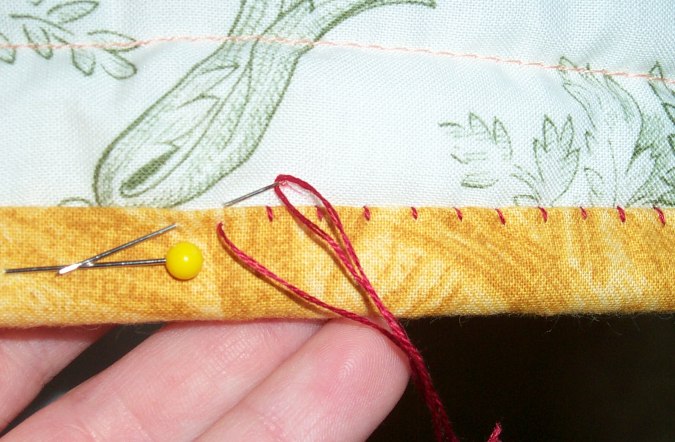
Photo 10: Continue with these same steps and you will end up with a line of stitching that looks like this.
You will definitely come to the end of your thread before you finish sewing on the binding, so you need to know how to end your thread so the knot doesn't show. Hopefully these photos will help, but they're kinda fuzzy so let me know if I should retake these.
Photo 11: When you have run out of thread (have about 6" or so left), you will need to knot it off and
start a new one (just like we did above). To knot it off, pull the binding back just a little so you can see part
of the backing material that would be hidden by the binding. Poke your needle through the backing just like you would
for another regular stitch, but come up through just the backing material in the area that will be hidden by the
binding. Pull the thread through.
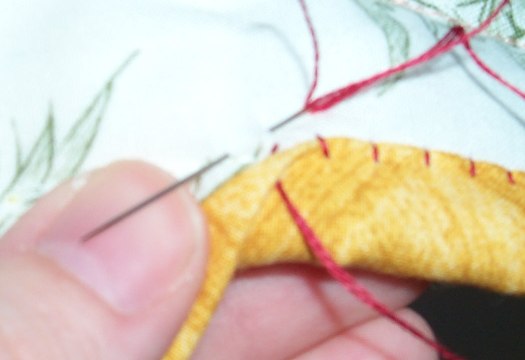
Photo 12: Now, just above the place where your thread came out, make another small stitch.

Photo 13: Pull the thread through, but leave a loop of thread. Don't pull it tight. Now, pull your thread
through this loop, making a second loop.
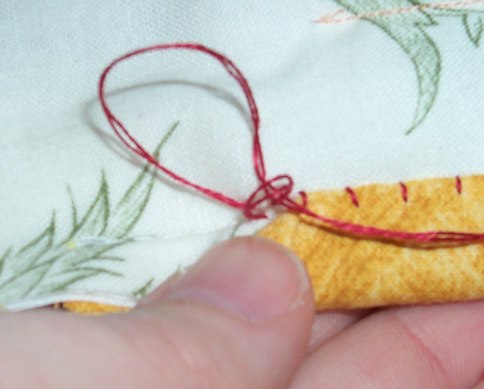
Photo 14: Pull on the second loop so that the first one tightens up completely.
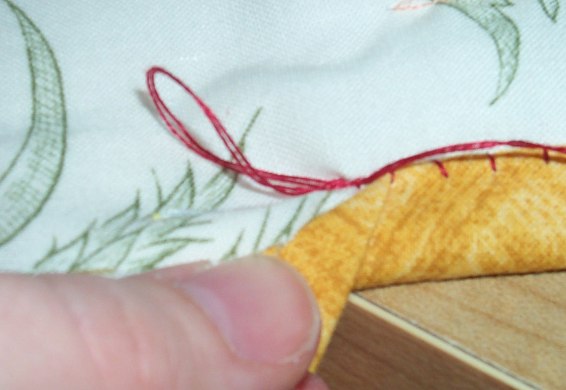
Photo 15: Repeat these loop-making steps two or three more times and you will get a good knot. Cut off
the remaining thread.
Well.... There are ways to use your sewing machine to do this, but it doesn't leave you with a neat looking binding. You can do all the steps above until you get to the hand stitching part, then you can flip the quilt over and sew in-the-ditch along the edge of the binding on the front of the quilt, but you can't see whether or not you're catching the binding on the back. You may have to go back and sew some parts by hand anyway, and the binding won't look nice and neat on the back of the quilt. I've done my binding this way before and it just doesn't look as good as I wanted it to. And if you sew from the back to solve that issue, you'll get a line of stitching that is visible on the top of your quilt (see photo #17 below).
Here are some photos illustrating why doing the binding by hand is just so much simpler.
Photo 16: To simulate what would happen if I used a sewing machine, I just did some running stitches
in my demo binding. This is approximately what the binding would look like from the back of the quilt.
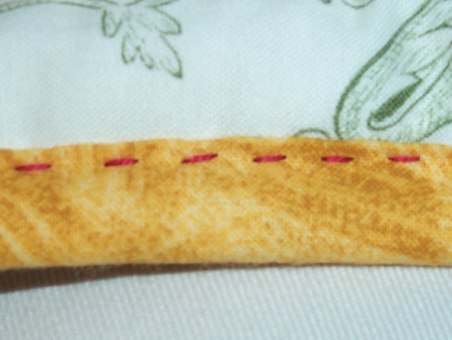
Photo 17: Remember, the sewing machine goes through all the layers of material, that's just how it works.
So the line of stitching that you see on the back of the quilt would also show up on the front of the quilt. This
does not look pretty at all!
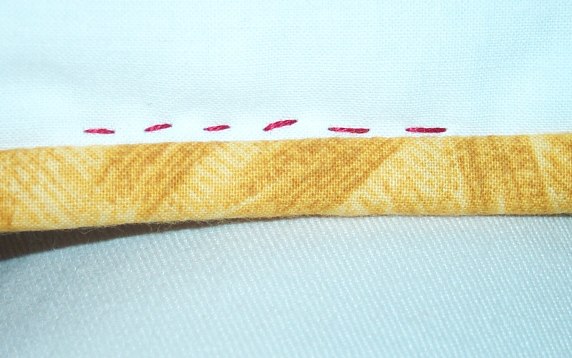
Photo 18: You want your quilts to have a nice, finished look. The stitching from attaching the binding
should be completely hidden on the front of the quilt.
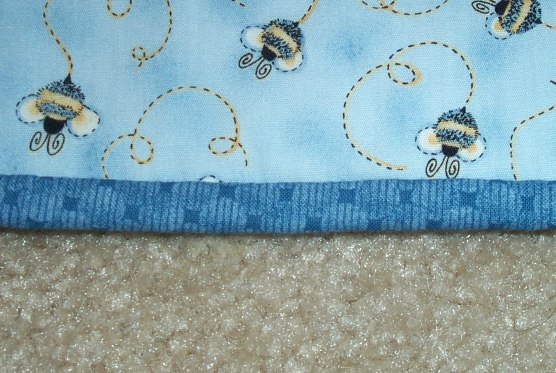
Photo 19: And on the back of the quilt, you want the stitching to be neat because it is visible.